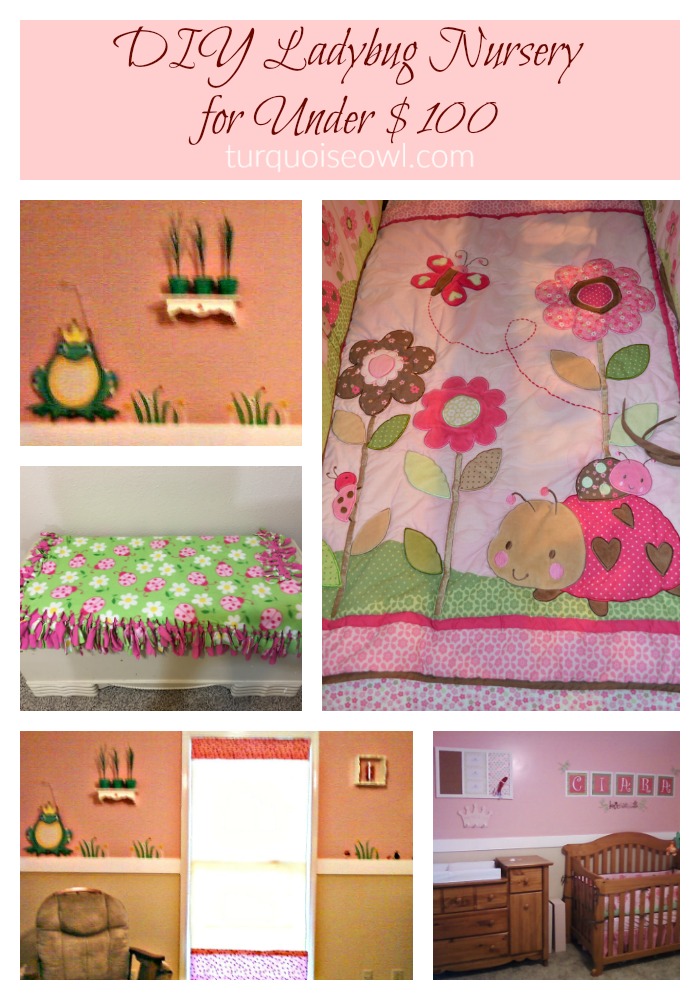
Pink and Green Ladybug Nursery
Ladybug Nursery Reveal
When we bought this home, the Nursery had blue, stained carpet, and beige walls with lots of holes. The closet doors where missing and there weren’t any window treatments. A week after we bought this home, we found out we were pregnant with Baby #3. After waiting 20 weeks, to find out the gender, we found out we were having another girl (#3)! This is before my love of owls came along, and my two older daughters shared a pink, green, butterfly, and flower room. I wasn’t sure what the nursery theme would be, until I saw this really cute Pink and Green Ladybug Nursery crib set, and knew that would be the theme for the baby girl nursery. Once, I knew the theme of the Nursery, and had the bedding and paint colors picked out, I focused on decor for the room. That’s when I decided to make my own decor. I added a “crib rail”, stenciled flowers on her wall, above the “crib rail”, and made ladybug curtains, that I Velcro’ed onto the existing Roman shades.
BEFORE

Installing a “Crib Rail”
I copied this idea from my sister. When she added the chair rail to her daughter’s nursery, it gave the room a wonderful focal point and depth.
First, we measured the room and bought the necessary length of wood trim.
Second, we used our paint sprayer to paint the wood trim.
Third, I used our saw to cut the straight edges and the angled edges for the corner pieces.
Fourth, we marked the height for our chair rail with or Level. We hung it slightly higher than a normal chair rail, because we were not using it for a chair rail, it was meant for a “crib rail”. We decided to hang it under neath the light switch, which happened to be the perfect height for the back of her crib, which means if she rocks her crib, it won’t scratch the walls, just the “crib rail”.
Fifth, we used our nail gun with finishing nails to install the “crib rail”.
Sixth, we painted the top half pink and the lower half of the wall beige.
Supplies for Crib Rail:
- We bought the 3″ wood trim from Lowes
- Nail gun
- finishing nails
- wood putty
- Saw
- Measuring Tape
- Level
Creating and Painting a Stencil
Supplies for Stenciling Walls
- Paint
- Craft Brush
- Paint Tray
- Pencil
- Stencil or Free Hand
- Stickers Optional (I found some really cute ladybug and flower stickers, so I used them instead of painting, plus they are easy to remove and you don’t have to repaint).
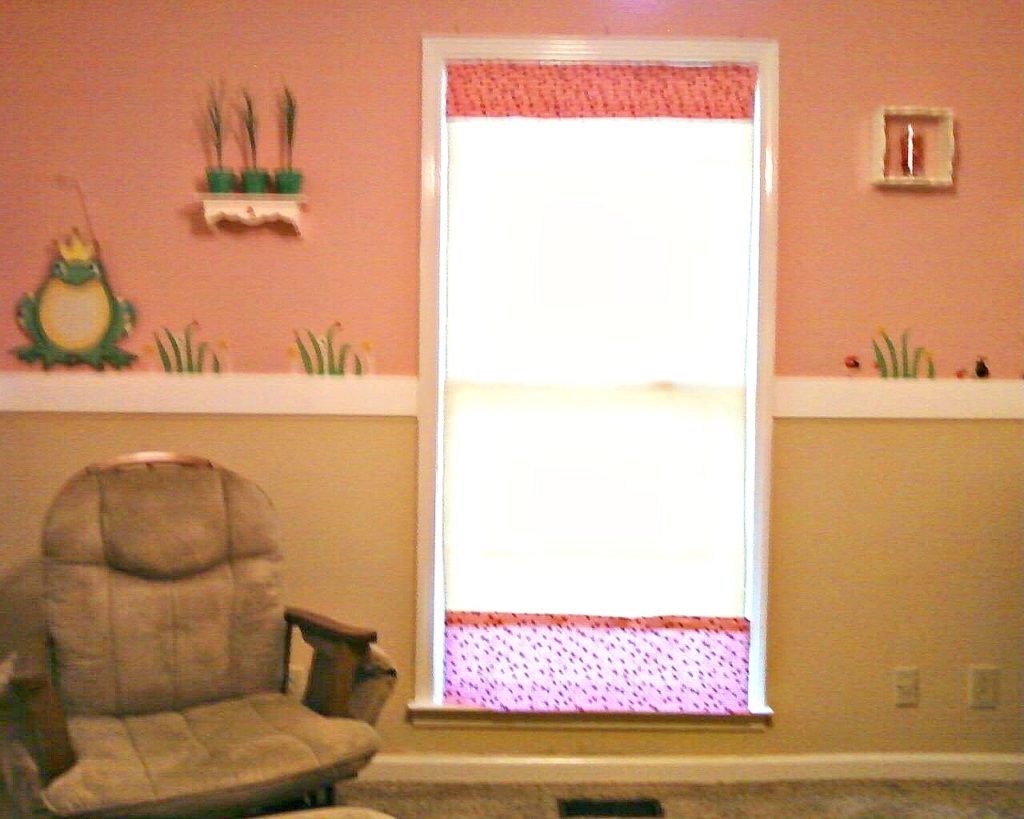
Creating No Sew Curtains
Supplies for No Sew Curtain Pieces
- Fabric
- Glue gun and glue sticks
- Velcro
I found some beautiful ladybug fabric at Hobby Lobby. (Sorry this picture is blurry).
First, fold and pin the edges of fabric, (or you could iron) then glue the edges down. I did this on all 4 sides.
Second, add self-adhesive Velcro to the top of the fabric. Then add the fabric pieces to the existing white Roman shades.
I added fabric on the top and bottom because it balanced it out.
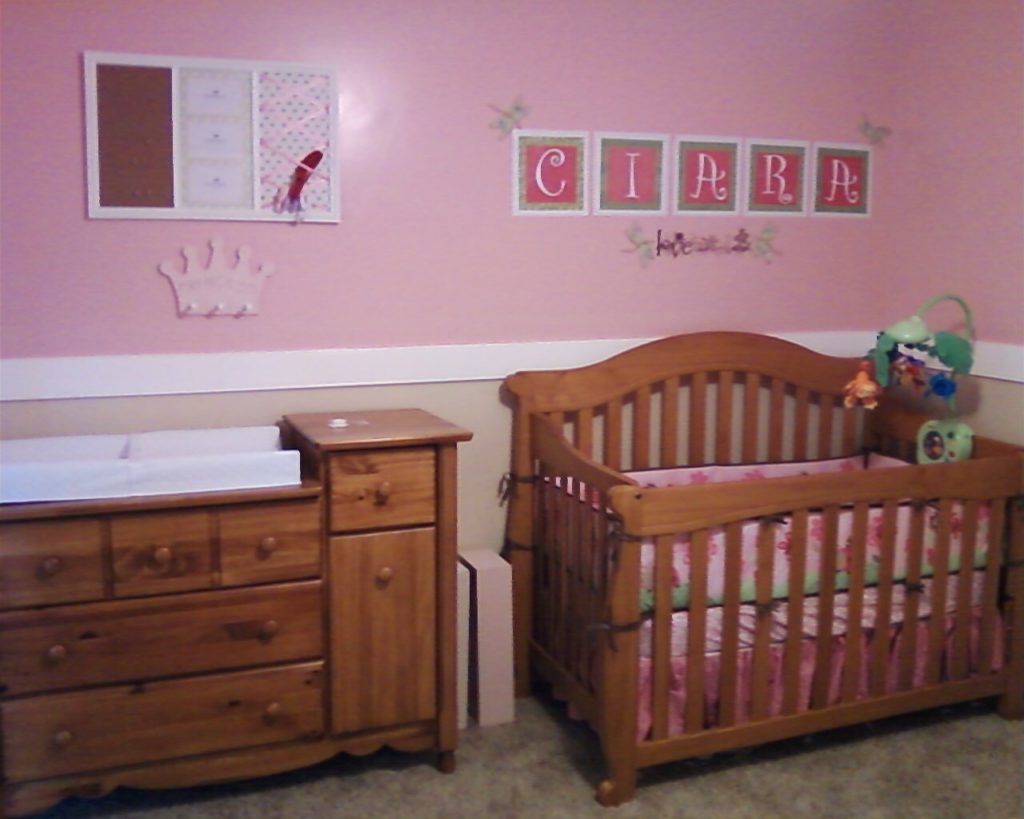
Pink and Green Ladybug Nursery
I think every bedroom needs the child’s name somewhere. I bought some wooden letters, painted them and glued them onto scrapbook paper. Those are green dragon flies hanging above and below her name.


Click the link to find out how to make this Ladybug Fleece


