DIY Stencil Accent Wall
Prep Work for DIY Stencil Accent Wall
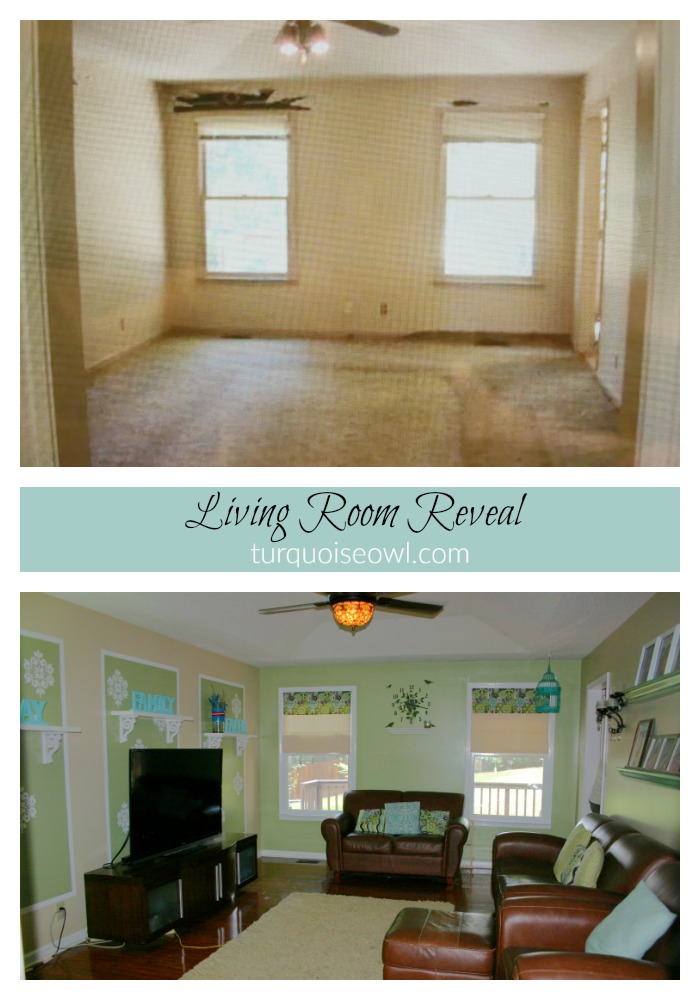
Hi, I am so glad you are here. I can’t wait to show you, my DIY Stencil Accent Wall! It turned out Better than I imagined. Today, I invite you into my Living Room. This is our Third Home (1st Foreclosure). We loved fixing up our living room. First, we had to remove a wallpaper border. Second, we had to paint the walls. Third, we replaced the window treatments. Fourth, we installed new lighting. The only thing left was adding accessories. I added some shelves and made some throw pillows, but something was still missing. That’s when I decided, it needed an accent wall.
The window wall was painted green and the rest of the walls were painted beige. However, the TV wall, looked really bland. It was a big beige wall with a TV and 3 floating shelves. I decided to buy some custom, pine L brackets, that I painted white. They really made the floating shelves look sophisticated.

Supplies:
- 2 colors of paint ( I used white and green)
- Stencil
- Small craft foam brush
- Small paint roller
- Paint tray
- Painters tape
- Pencil
- Level
- Chalk Line Reel
- Ruler or measuring tape
- 90 degree angle
- Spray adhesive
DIY Stencil Accent Wall
First, I measured the entire width of the wall and then divided it by 3. This gave me an idea of how large my rectangles could be. To find the exact size of the rectangles I also measured the width of each shelf since I wanted my rectangles to be larger than my shelves.
Second, I drew short dashes of how large each rectangle could be around each shelf. Since I wanted each rectangle to be equal distance apart from each other, I made sure I drew more dashes on the wall to get an idea of where each rectangle would be located. I also wanted the rectangles to be equal distance from the edge of the wall on the left and right hand side. When I was satisfied with the location and size of each rectangle, I drew the entire rectangle with my 90 degree angle and my level.
Third, I tapped the perimeter of each rectangle with painters tape. The first coat of paint was green paint. I painted each rectangle green. I used a small paint roller. After it dried, I kept the painters tape in place and added more painters tape (2″ inside) from the other painters tape too create a 2″ border around the rectangle. I did this for each one and painted the border white. Once the border was dry, I removed all of the tape. You should always remove the tape when the paint is slightly damp. It prevents the tape from sticking to your fresh paint.
Fourth, I used the same white paint on my stencil that I purchased at Hobby Lobby. However, this time, I used a small craft foam brush and spray adhesive. The spray adhesive helps keep the stencil stuck to the wall, which means paint is less likely to get under the stencil, where you don’t want it.
Note: lightly spray only your stencil, then wave it in the air, so it “dries”. You don’t want the adhesive to be wet, or else it will tear the paint off your wall. I did random positions for my stencil, I wanted a unique look. I think it turned out pretty good, I get a lot of compliments on it. What do you think??
Floating Shelves and L Brackets
Supplies:
- Floating Shelves- Home Depot
- L Brackets- Ebay
- Paint
- Crafters Paint Brush
- Sand Paper
- Wood Glue
Tutorial:
I installed the floating shelves after I painted the accent wall. First, I sanded and painted the L Brackets. Second, I glued them to the bottom of the floating shelves and screwed them into the walls. It was pretty simple, but they added a huge WOW factor!
I just love how this turned out. It adds bling, color, and whimsy to our living room, which is the first room you walk into. Therefore, it makes a great first impression and you instantly feel warm and welcomed.

You May Also Like
3 Secrets to Create A Model Home On A Budget
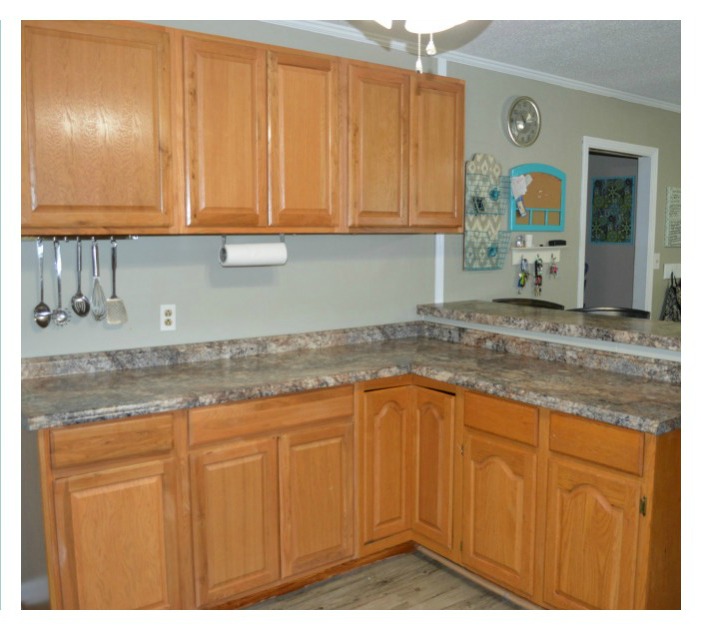
3 Ways to Add Storage and Prep Area In Your Kitchen