Tutorial Install Laminate Flooring
BEFORE AND AFTER

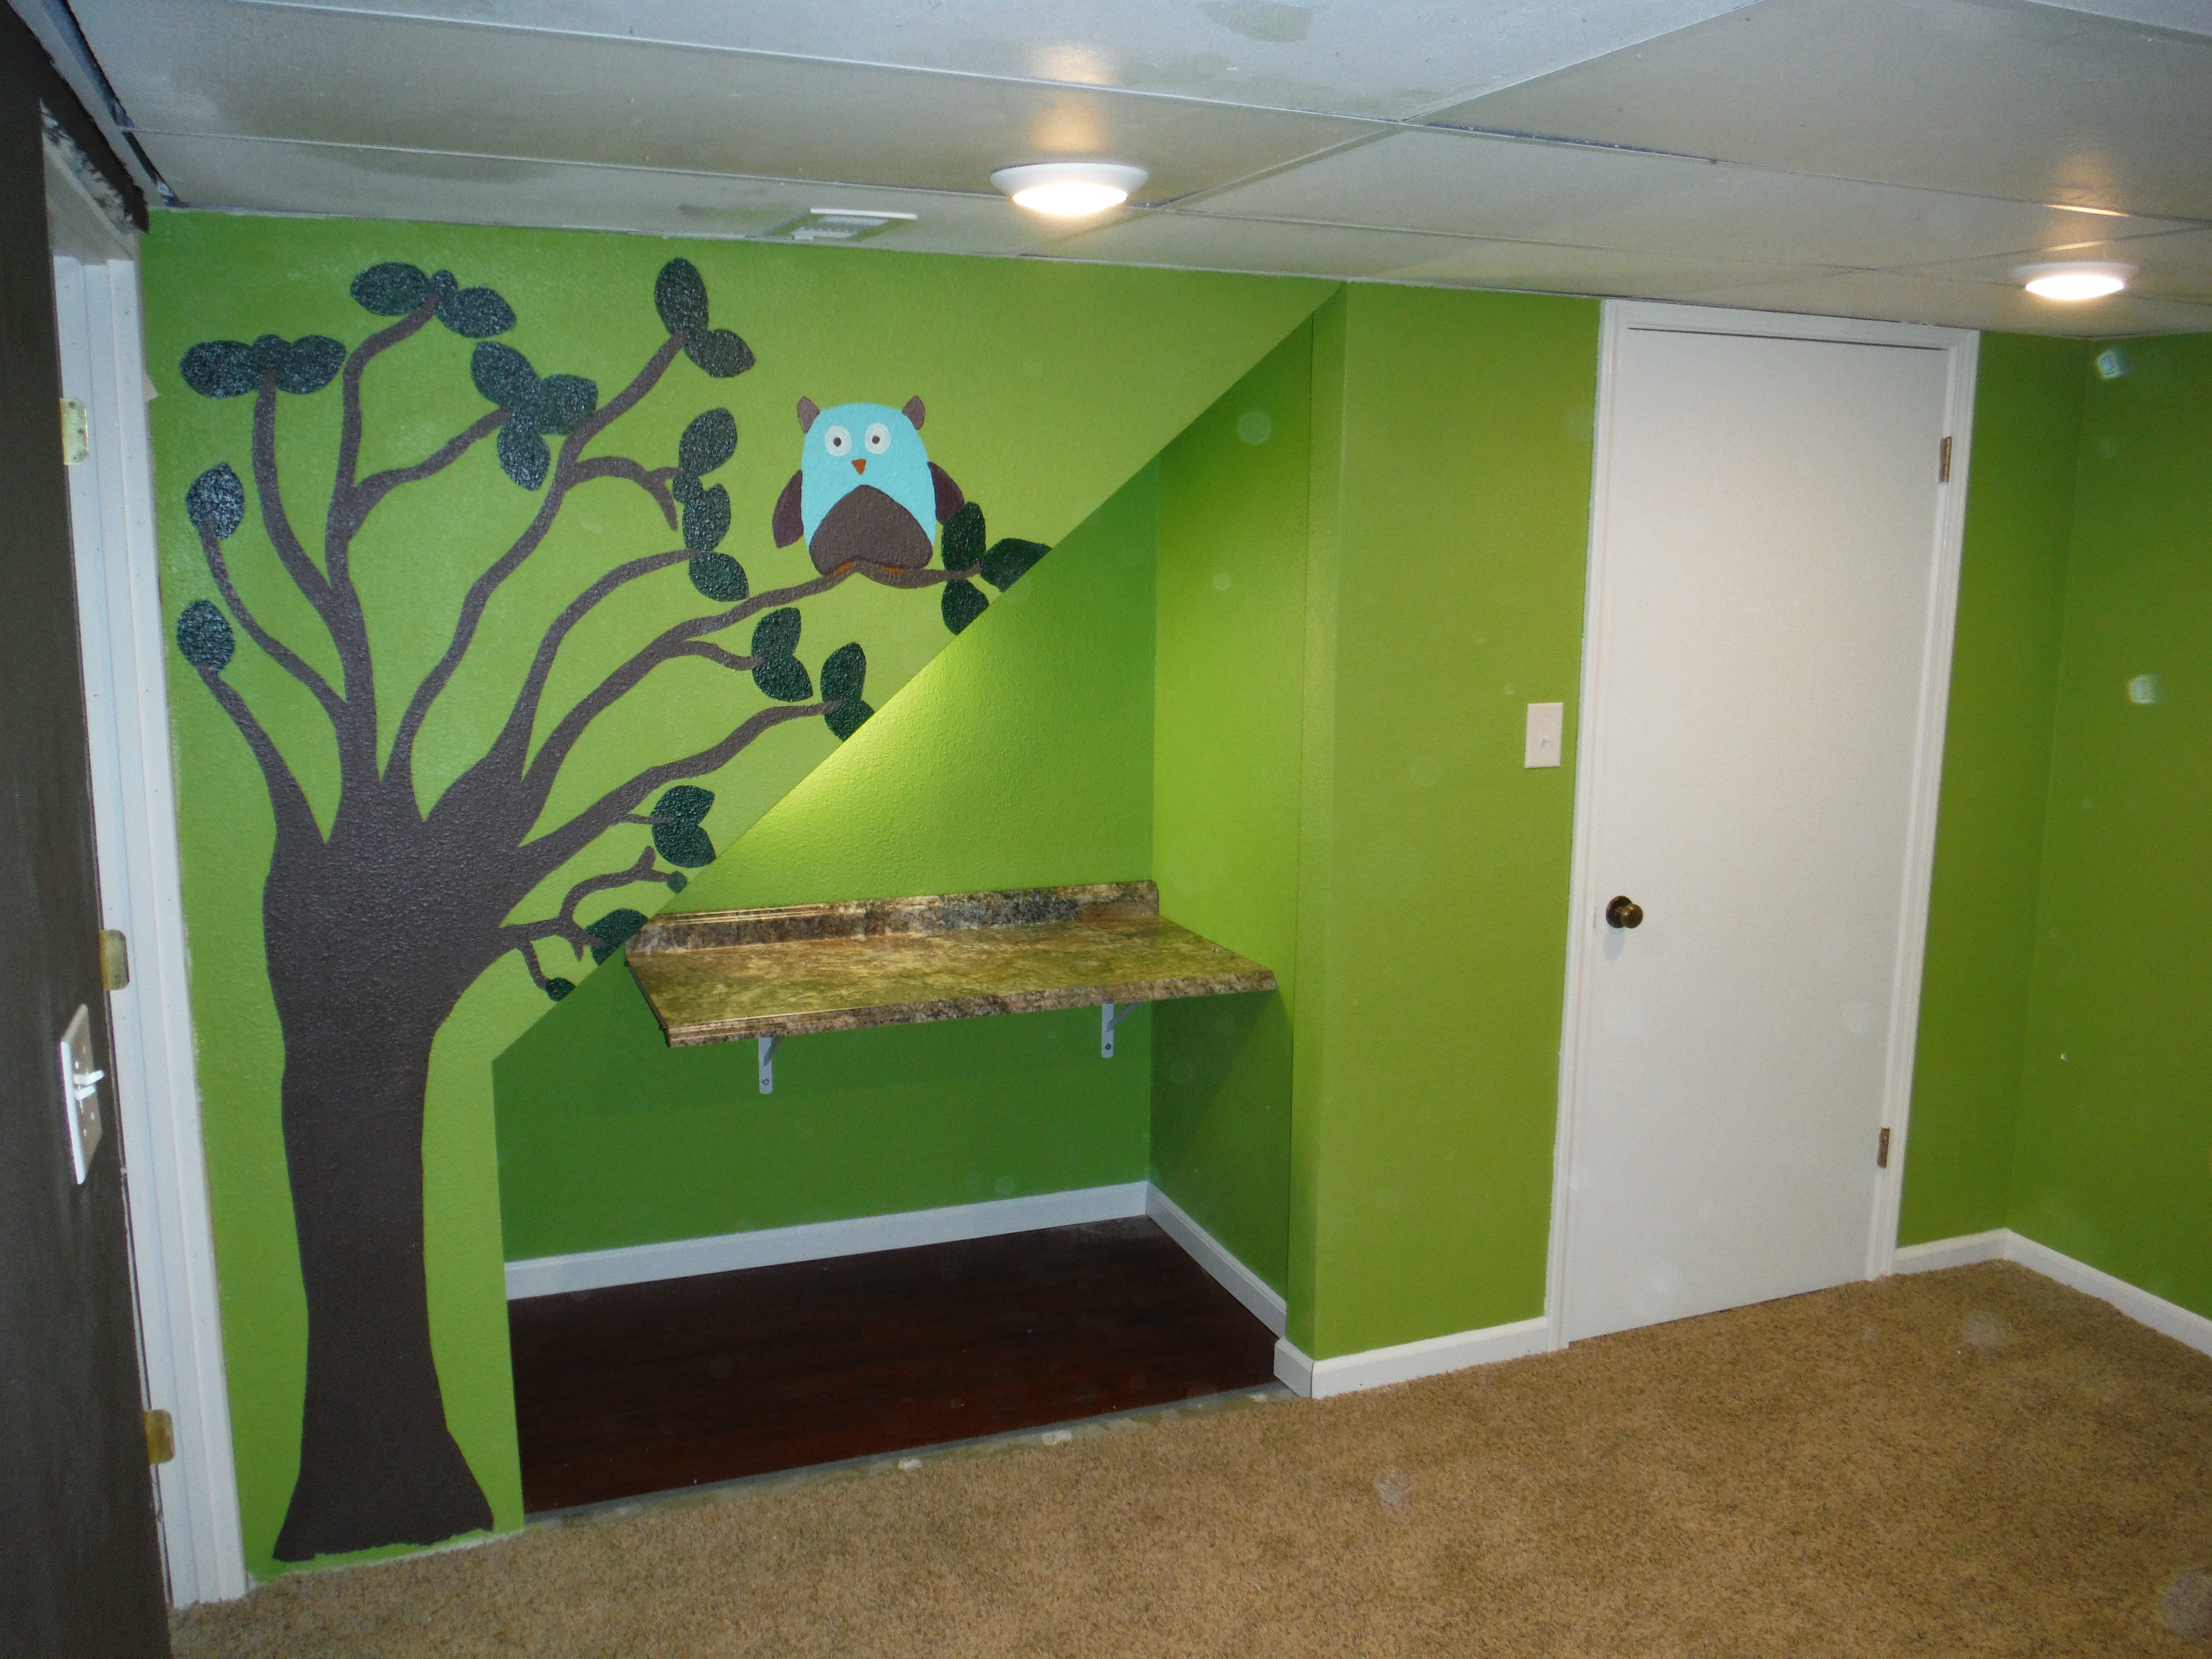
Here is a list of everything we did to the OFFICE:
- Replaced the carpet and installed wood cherry laminate flooring
- Patched and repainted the walls
- Replaced the lighting with a ceiling fan
- Painted the baseboards and window sills
- Painted a green accent wall
- Made No-Sew Custom curtains
- Added accessories and storage
AFTER

How to Install Laminate Flooring
This post may contain affiliate links for your convenience. To read my full disclosure click here! Some items may no longer be sold in the store that I purchased it from, so I have included product links to other stores that still sell that item, or I have included links of similar items for the products that I used.
Supplies:
- Laminate flooring (glueless installation)
- Underlayment
- Finishing nails
Tools:
- Pry bar
- Utility knife
- Tape measure
- Table Saw
- Jig Saw for fine, small, curved cuts
How To Install Vinyl Laminate Flooring

First, lay the flooring in your room for 2 days. This allows the flooring to acclimate to your room’s temperature. The flooring has to time to expand.
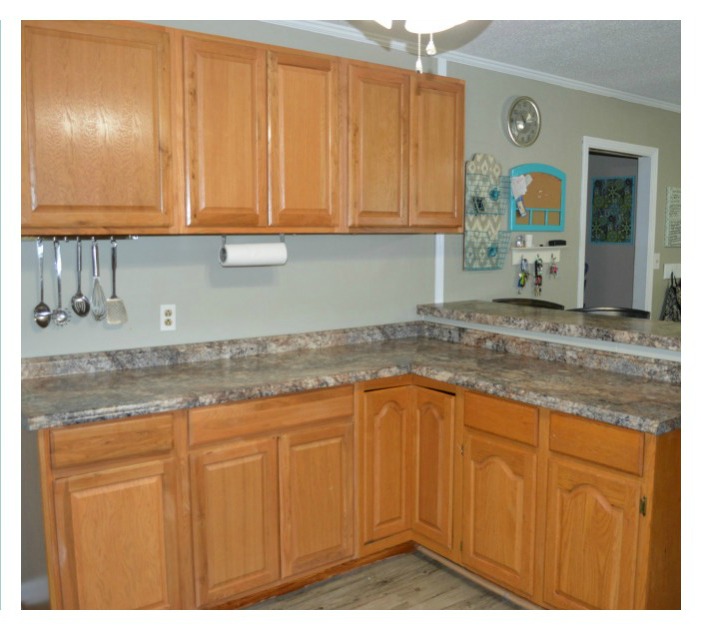
Second, if you are planning on replacing the flooring, then consider making your purchase at a Liquidation or Factory Discounted Store. They can sell flooring from 30-70% Less than Regular Home Improvement Stores. Also, when you buy flooring, pick out Laminate Wood Flooring. It is engineered wood flooring that looks Real, but costs 50% Less. And it is easy to install with it’s Tongue and Groove Engineering. Here is a picture of the Grey Laminate Flooring that we used in our Kitchen. Since it’s so easy to Install, you can DIY and save Money on Labor.
The Tutorial for Vinyl Laminate is basically the same as Wood laminate.
Here are the differences. Instead of using a Router saw for vinyl laminate you can use an Exacto Knife, since its thinner material and bends easily. Also, you do not need a padding underneath the vinyl. And since the vinyl is thinner than the wood laminate, you may Not need to cut the bottom of your door frames, to slide the laminate underneath it.
How To Install Wood Laminate Flooring

You can also purchase a Wood Laminate Engineered Flooring. This is what we used in our Office. (This is a scrap piece, but you can see how the edge has the Tongue and Groove Engineering for the pieces to fit together like a puzzle).
Third, remove existing baseboard molding.Use the pry bar to remove baseboard from the wall and set the pieces aside for reinstallation. Use the utility knife to cut pieces as needed. The foam under layment deadens sound and helps the floor feel more resilient.

You May Also Like
3 Ways to Add Storage and Prep Area In Your Kitchen
Top 10 Improvements for a Bathroom Makeover