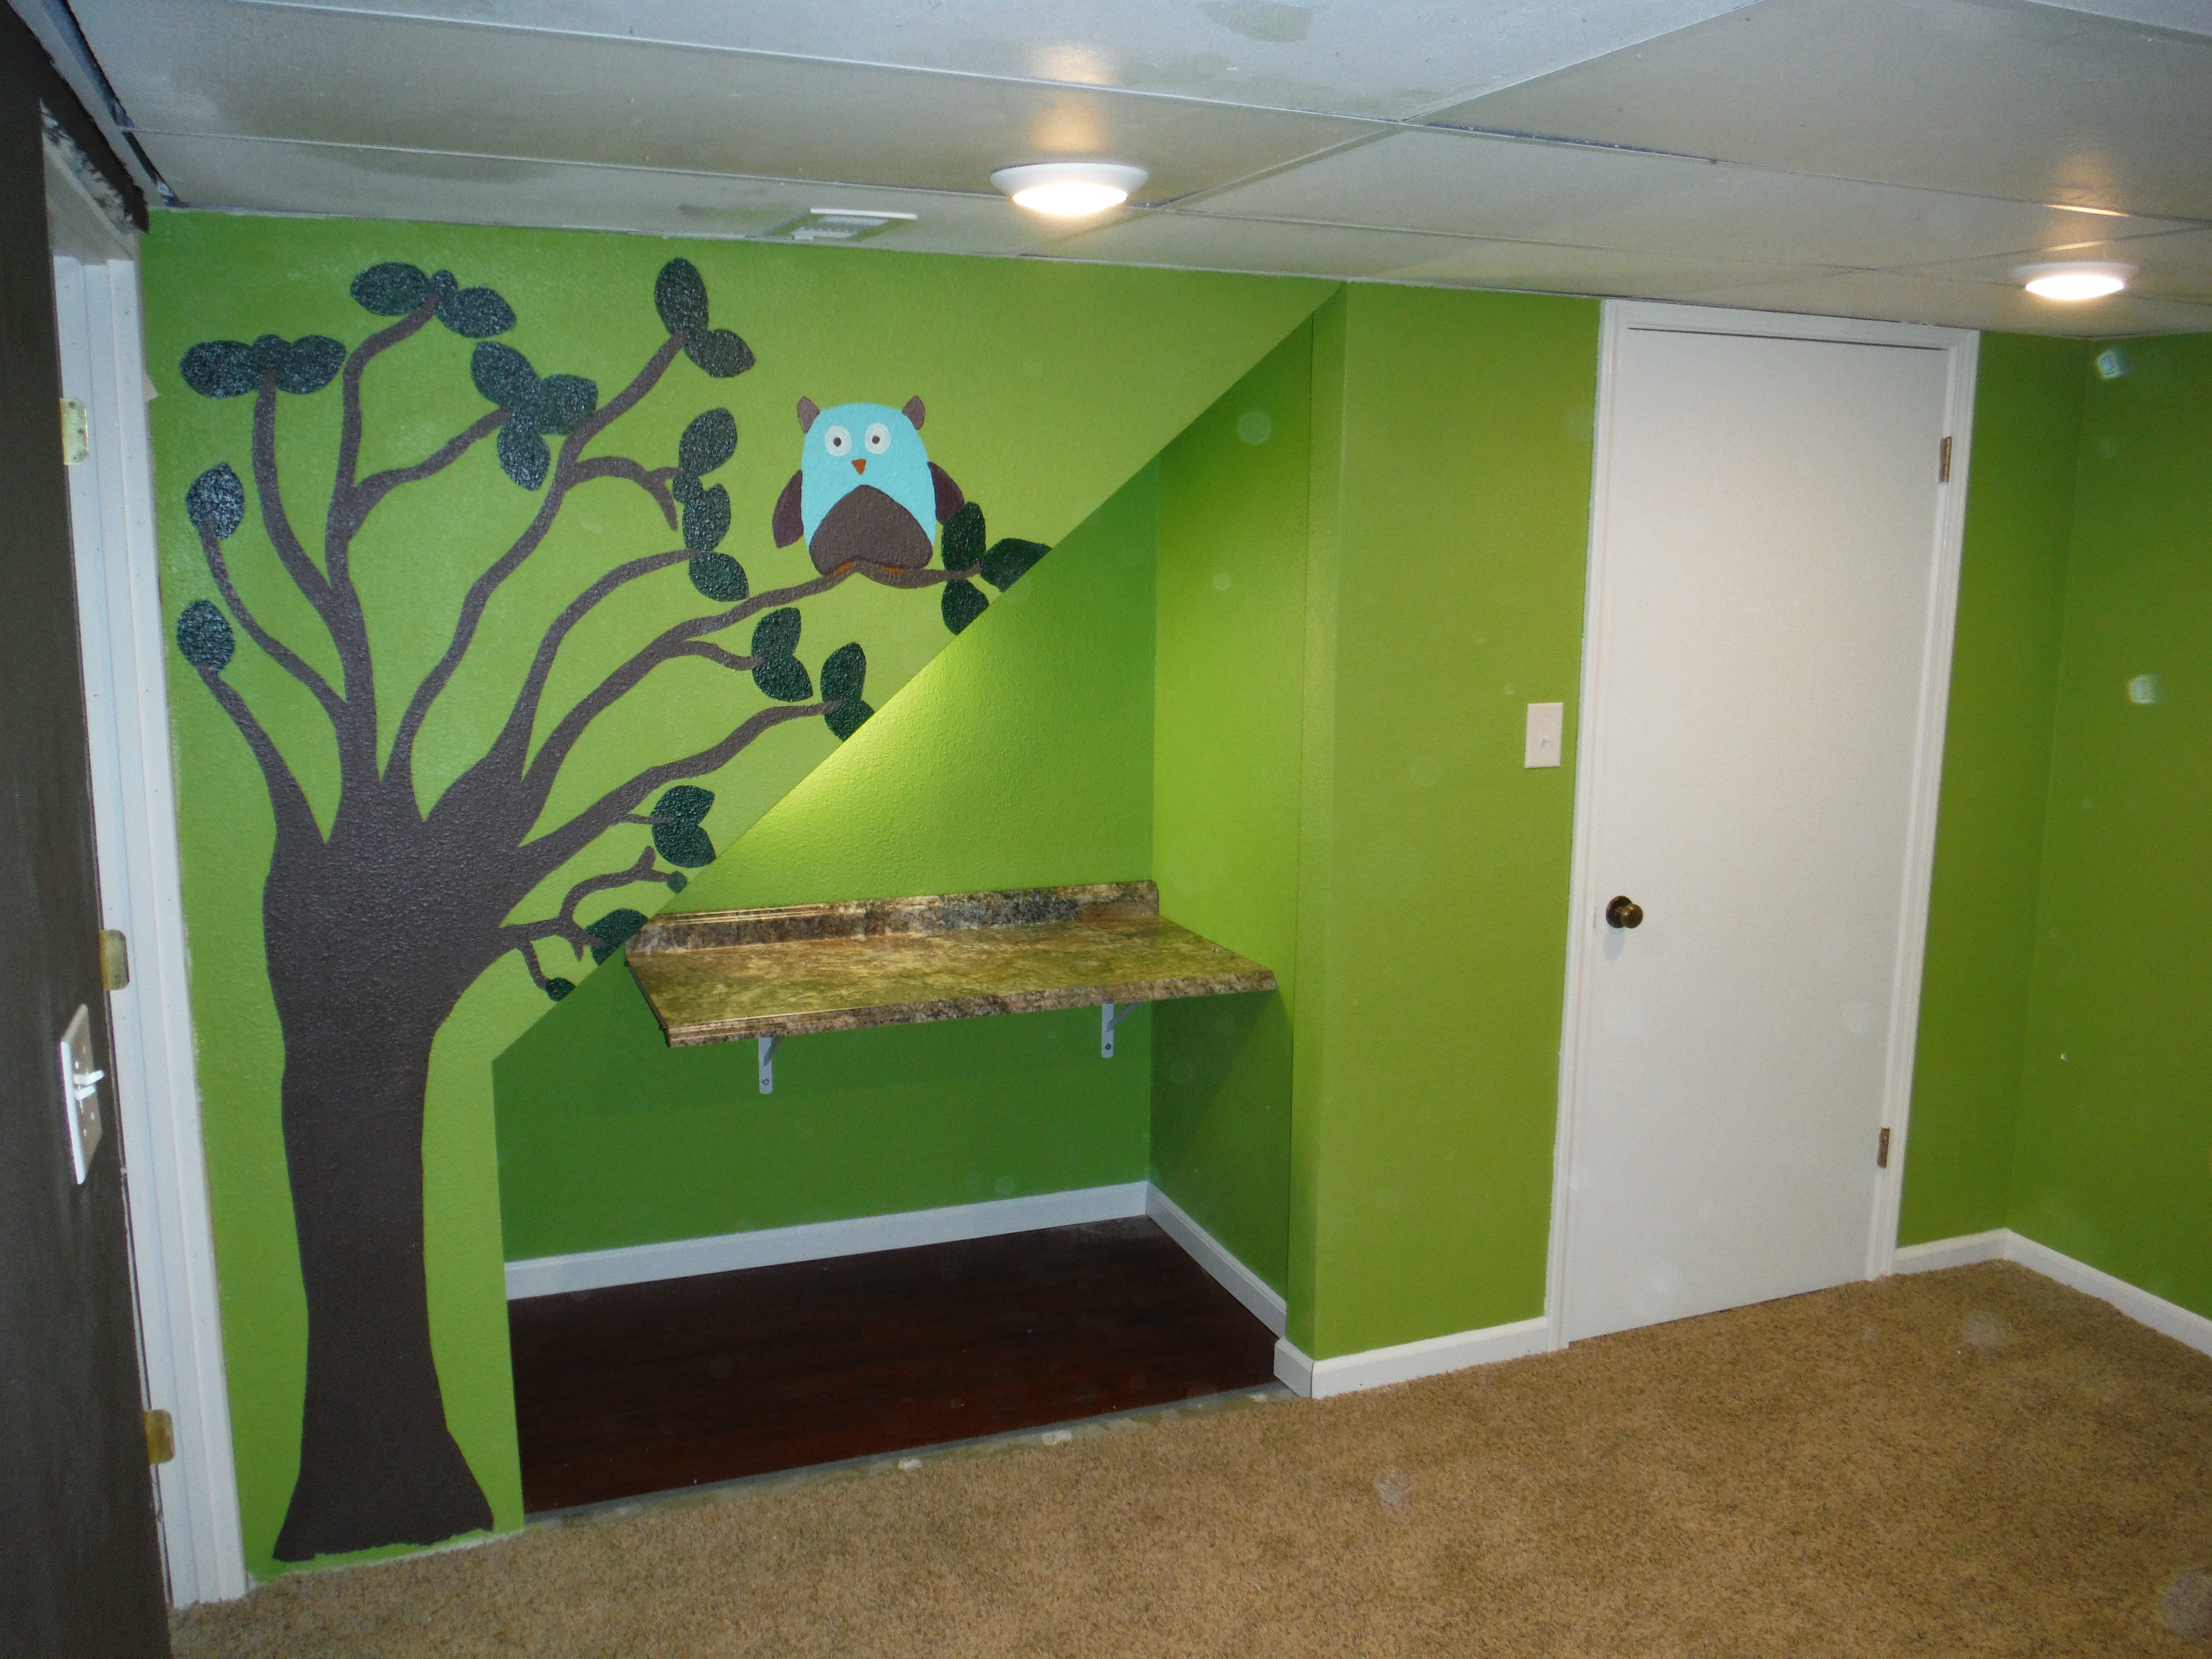
Command Center & Chalkboard Pantry
Command Centers are so important in a household. They help us stay organized, and remind us of our daily schedules. I don’t know about you, but I am a visual person, and I need to have Reminders in Front of me. The busiest part of the home is the kitchen, so it’s a great place for a Command Center & Chalkboard Pantry. If you don’t have room for a large pantry like mine, no fear, this can still be done on a wall or other cabinetry. I used to have upper cabinetry and a bar located in this spot, and we tore it out and installed these wonderful 3 piece cabinetry from Lowes.
BEFORE


Command Center & Chalkboard Pantry
We didn’t have to build anything, it was already done for us. The only work we had to do was paint them. We bought a pine set, that didn’t have any paint or stain because we knew we would paint them.

This post may contain affiliate links for your convenience. To read my full disclosure click here! Some items may no longer be sold in the store that I purchased it from, so I have included product links to other stores that still sell that item, or I have included links of similar items for the products that I used.
Supplies:
- Pantry. Cost $200 each at Lowes
- Black stain
- Paint brush and cloth to rub in stain
- Gloves
- Paint trays (2) (1 for stain and 1 for chalkboard paint)
- Black chalkboard paint
- Craft foam brush
- Vinyl adhesive cutter (cricket or silhouette machine)
- Chalk
Tutorial:
My husband stained the pantry outside, once we brought them home. Stain can be really messy, if you aren’t able to stain outside, then put a thick plastic sheet or cloth underneath the pantry while you stain it. The stain will drip and you do NOT want it on your floor. Before you stain or paint make sure you wood is smooth, if not sand it.
After you are done staining, let dry for 24 hours. Then take a craft foam brush and apply the chalkboard paint to the doors ONLY, since this is the only area that you will be using chalk. I used 3 coats for a thick coverage and smooth finish.
Then cut out some words with your vinyl adhesive cutter. Here is a list of the words that I used: Menu, Prayer ( we take turns saying grace before dinner), To Eat (since I was on Weight Watchers and had to keep track of my daily food), Daily (this is what I needed to get done today, it could include phone calls, errands, etc.) Chores (for each of my children) and Reward (for each of my children when they finished their chores or were especially nice to each other).
AFTER

In closing, command centers are very important to help your day run smoothly, and give constant visual reminders of what needs to get done. There are several ways to create command centers, that I found on Pinterest. Several people use a wall for their command center, but we chose to use a cabinet aka pantry. I hope this post gave YOU a New Idea on how to create a Command Center with No Wall space. See my Chalk Marker Command Center Tutorial.
Thank you for stopping by! I hope you enjoyed this post. Please comment below, if you saw something you really like, or if you have any questions. Be sure to check out my posts by category or Page. If you like what you see and you would love to see what’s coming up, please sign up for my monthly newsletter.
I would really appreciate it if you shared your blog with me and if you shared my blog. Sharing is Caring. I want to grow a great community of DIY’ers and entrepreneurs. Thanks again for Stopping by.

You May Also Like
Top 10 Improvements for a Bathroom Makeover
Secrets for Open Concept Kitchen with a Bar