
Secrets for Open Concept Kitchen with a Bar
Do you have a Kitchen that feels like it is closing in on you? Do you wish you could open up some walls and create an open concept kitchen? Here are my Secrets for Open Concept Kitchen with a Bar. Instead of gutting your kitchen and spending TOO much $$$, I will show you what to KEEP and what to BUY to save you TIME and MONEY. Don’t know where to start, or how much it is going to cost? Afraid, it will cost too much, because all the shows on HGTV, quote such a HIGH price for a Kitchen Remodel.
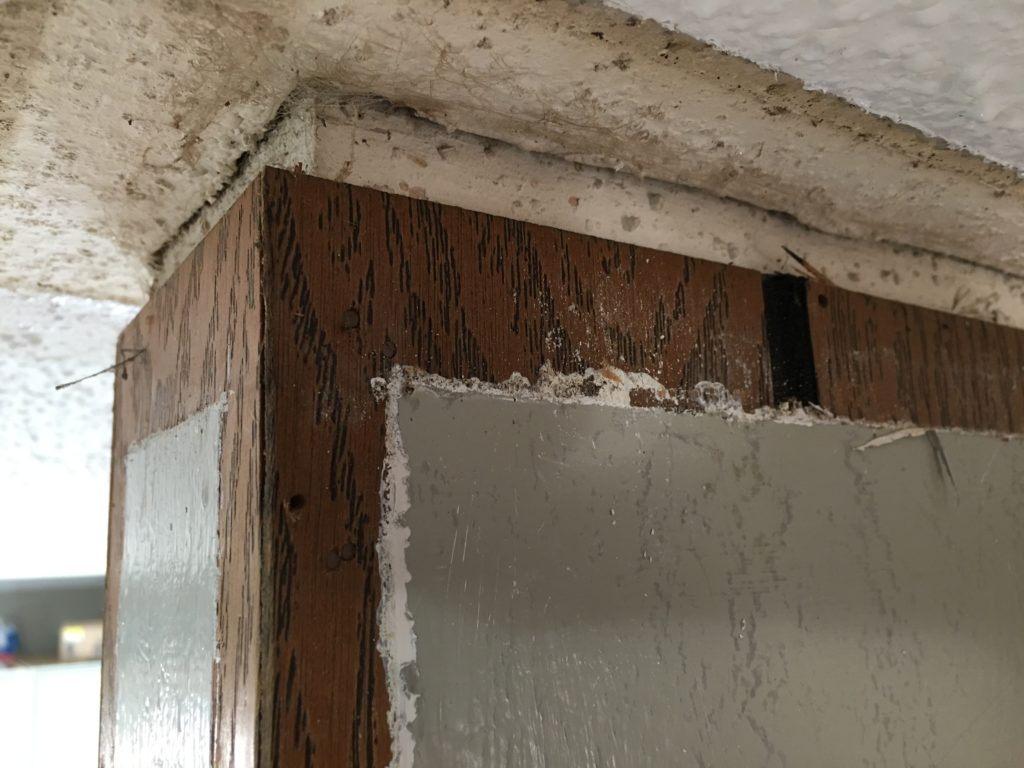
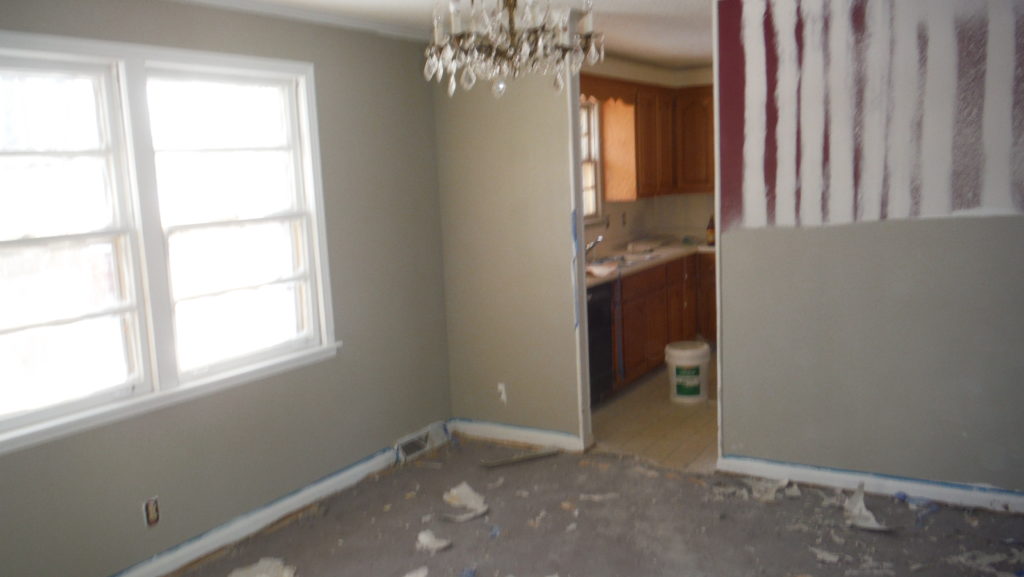
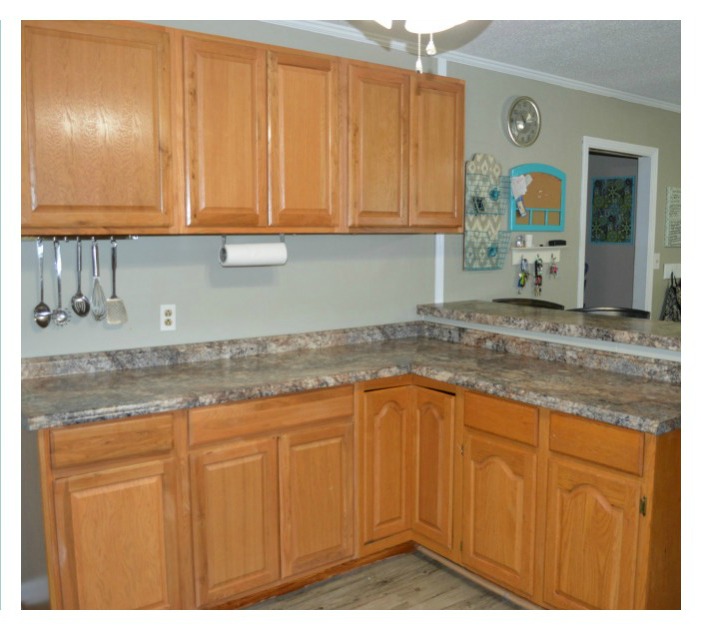
I will share Secrets for Open Concept Kitchen with a Bar. Today, I invite you into our Dining Room and Kitchen. This is our fourth home (2nd foreclosure). The Kitchen and Dining Room were a nightmare! First, they were completely separated by a wall and a small doorway. Everything was dirty and outdated. All the walls had brown thin paneling (cheap stuff). The former home owner attempted to “hide” the paneling by painting the walls Burgundy. Then another former homeowner (or the same one) attempted to “hide” the paneling grooves by mudding them. Here is a picture of the 1st time we saw this Kitchen. We tore the wall half way down and Created a bar.
BEFORE (Dining Room View into Kitchen)

How To Remove a Wall
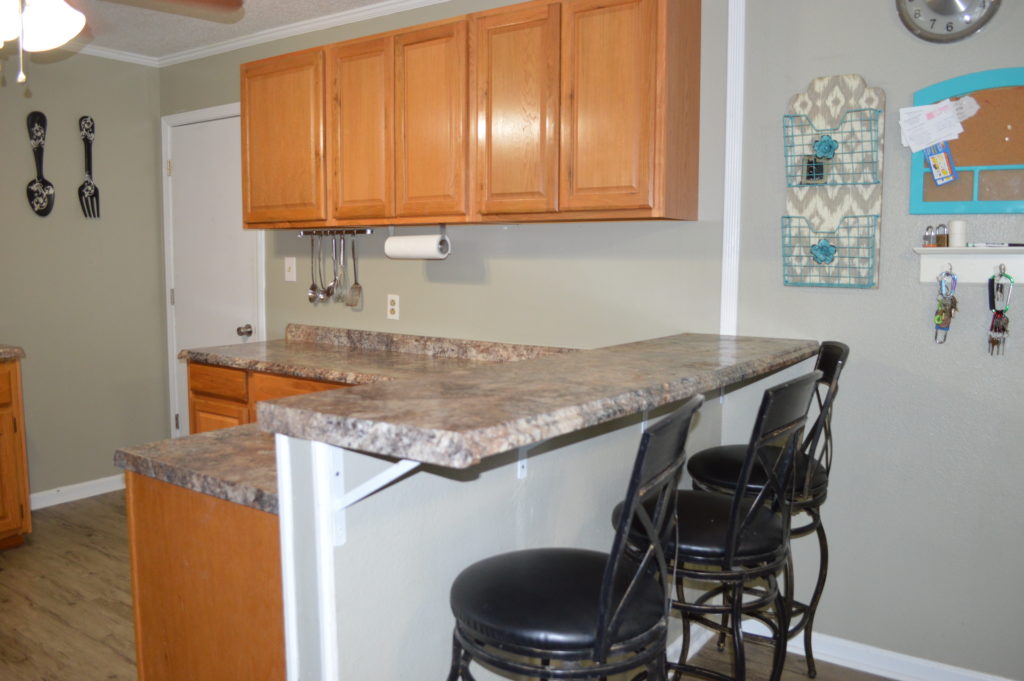
First, we had to remove the two walls that went into the kitchen. It didn’t make sense having a small entrance into the Kitchen. We removed the wall of the left and then we removed the right wall half way down so we could create a bar. Having a bar in Dining Room gave us more seating and way for our children to talk to us while we were cooking food.
Supplies:
- Crow Bar
- Hammer
Tutorial:
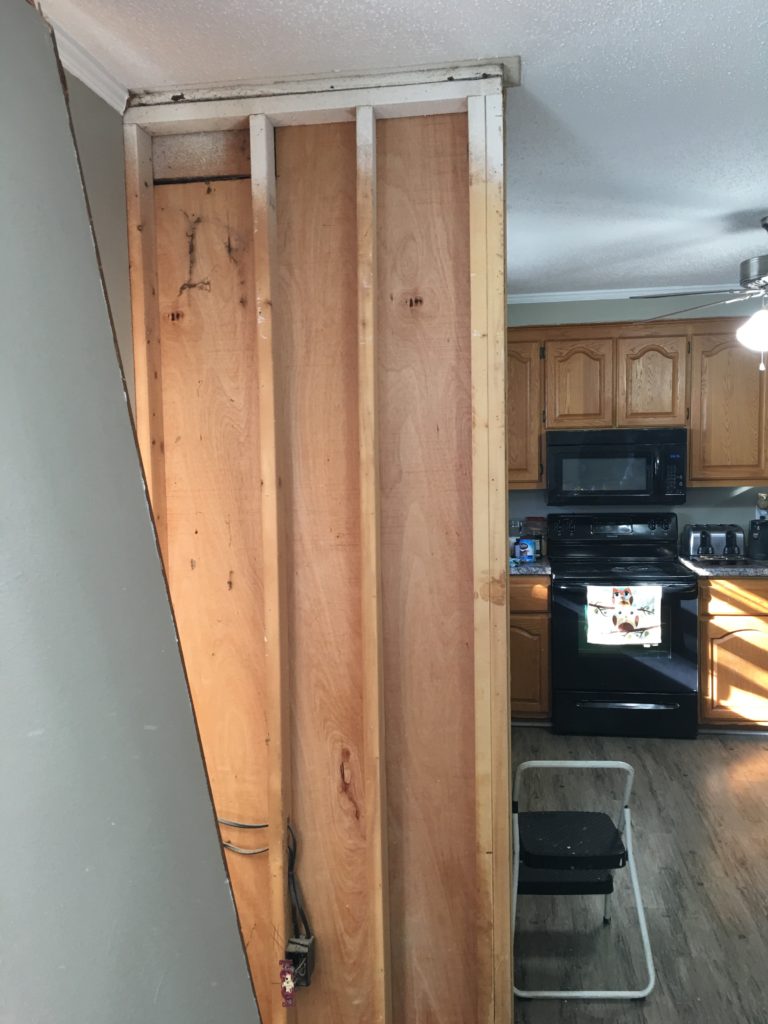
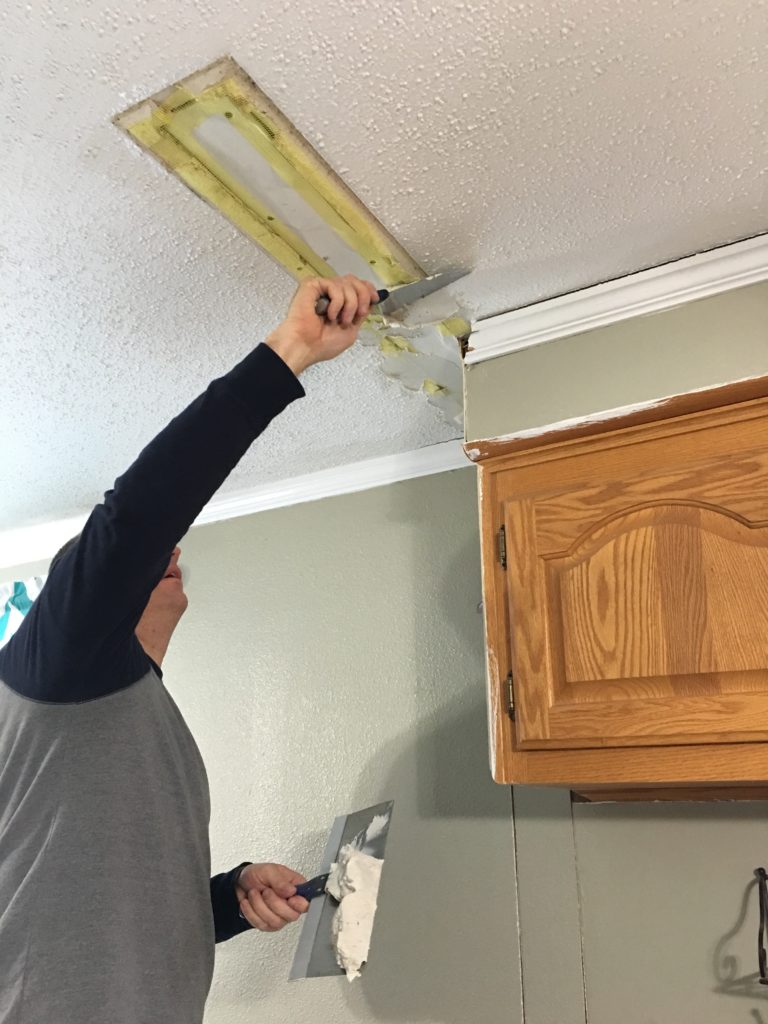
Sorry, this is a gross picture! First, remove the Trim and baseboards. Our walls had wood paneling on them instead of sheet rock. Here is the ceiling once we removed the trim.
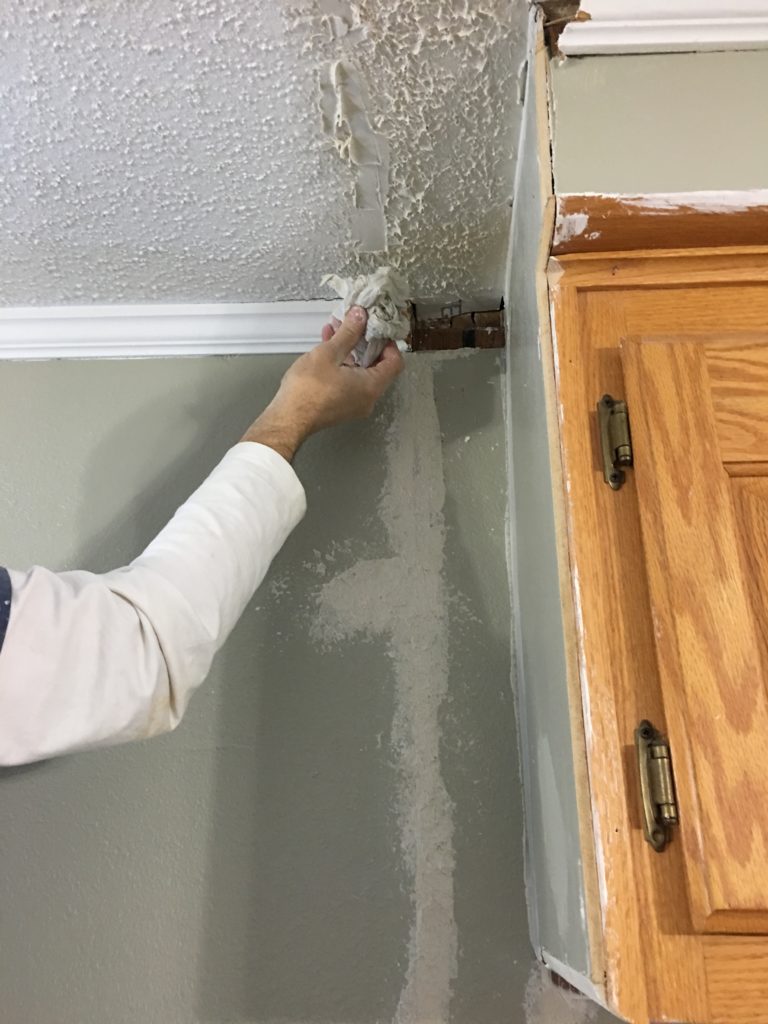
Second, remove the sheet rock or wood paneling. Then remove the 2 x 4 wood frames.
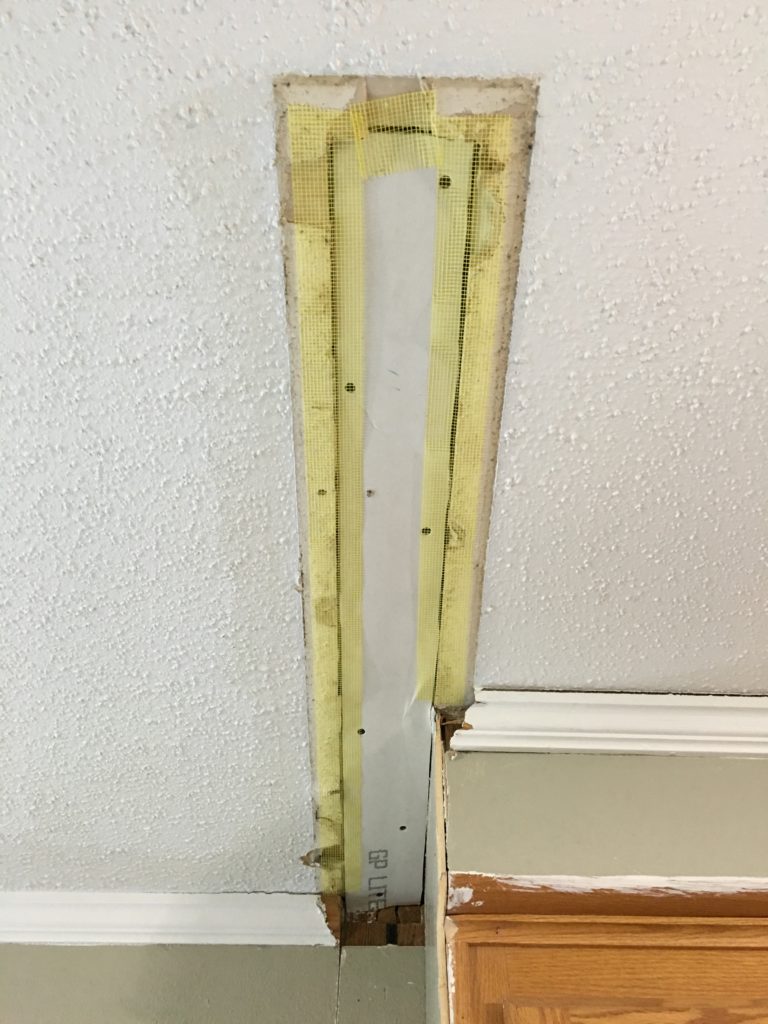
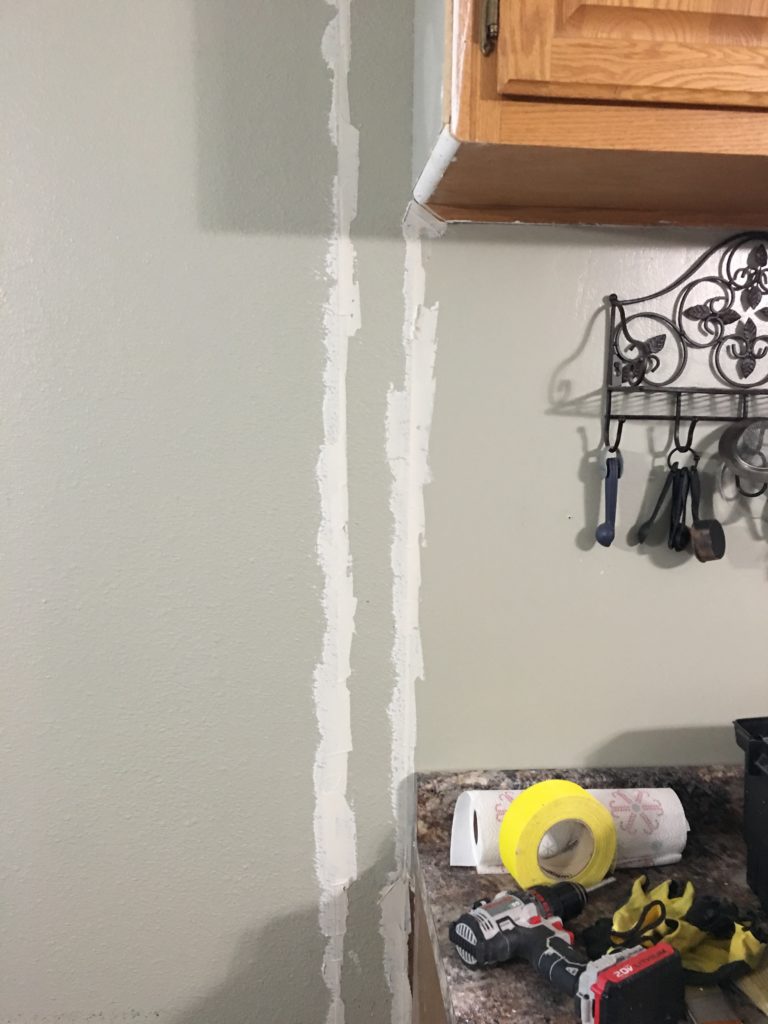
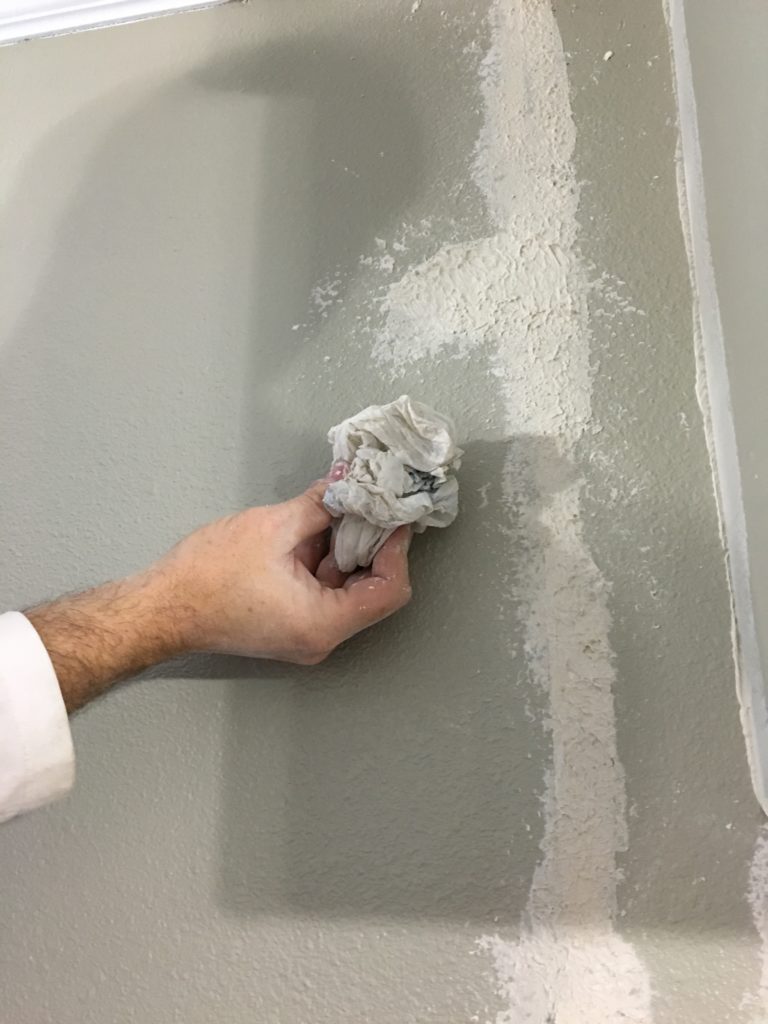
Third, get sheet rock and mud tape to fill in the holes. Then get compound and add texture to the walls and ceiling. Let dry 24 hours and then paint.
How To Remove Upper Half of Wall and Create A Bar
Supplies:
- Crow Bar
- Saws All
- 3-4 Medium sized L Brackets
- Counter Top
- Table Saw to cut the length of the counter top (it needs to be narrow).
- Plywood to fit under the counter top
- 2 x 4’s to make a frame under the counter top and hold the plywood
Tutorial:
First, measure the height that you want for your bar.
Second, make a whole or cut in the wall to detect electrical wires.
Third, move the wires and cut the entire upper half of the wall away from the ceiling and wall.
Fourth, make a frame with 2 x 4’s the length and width of the bar. Screw the 2 x 4’s to secure it.
Fifth, use your table saw and cut a piece of plywood the same length and width of the frame. You have made a platform for your counter top.
Sixth, buy a counter top the same material as the rest of your counter tops. Measure with a pencil where you want to cut your counter top. Then use blue painters tape and apply over your pencil mark measurement. Tape will prevent the table saw from making chips into your counter top. Use your table saw to the cut the length of the counter top, to make it more narrow.
Seventh, use 3-4 L brackets and secure the counter top to the plywood frame length wise underneath the bar.
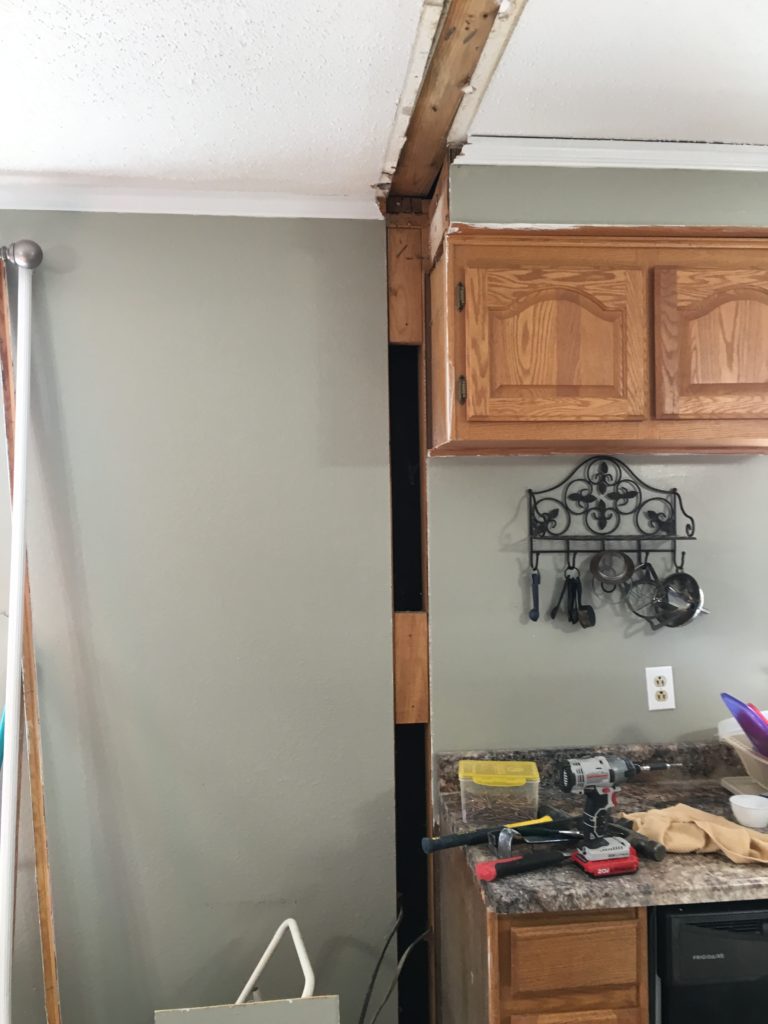
View of Wall Before We Cut it Horizontally
We cut our counter top length wise to make it more narrow for our bar. Therefore, we purchase some laminate siding for the back of the bar. These are sold separately. Use the Weldwood Contact Cement and clamps to hold your laminate siding in place. Since we had a long piece of siding we also added a piece of wood to flatten it down. (The siding comes in a roll, so it’s not flat to begin with).


After you are done with the back laminate siding (if doing a bar) then apply the matching end cap kit. We used a piece of wood against the end caps, then clamped the wood so the end caps would lay flat. These come in a package at Lowes. Use the Weldwood Contact cement and clamps for these as well. Note: the instructions, say that you can iron them on, but I found the contact cement to be a stronger adhesive.

After applying the matching end cap kit, trim the pieces of your counter top. We used our grinder and a ‘cut off wheel’ to do this.

Look How BIG the Space Became, Once we Removed It.

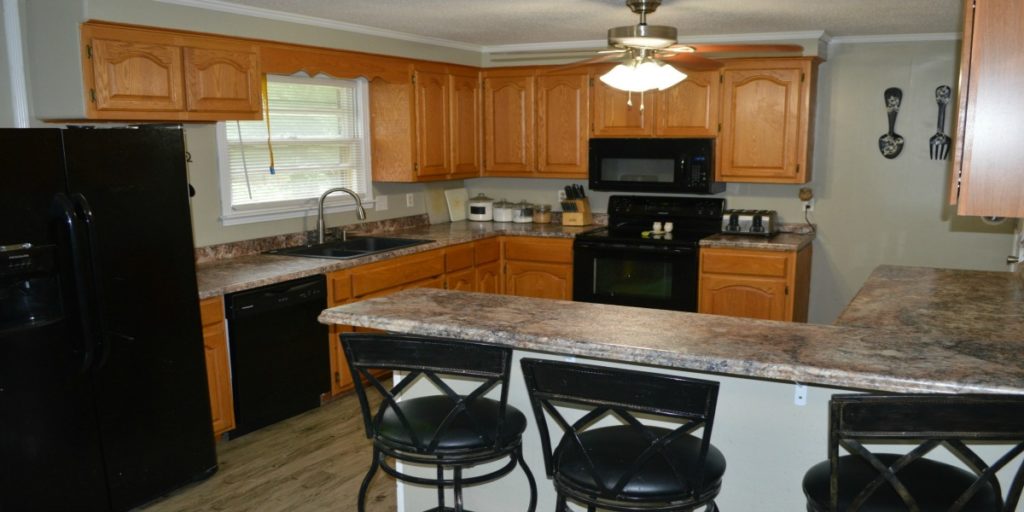
The kitchen needs to feel spacious and open for your family and guests to have room to socialize, prep food, and clean up. Secrets for Open Concept Kitchen with a Bar made our kitchen feel so large, plus the bar added more counter space for eating, socializing, and making food. If you have a Kitchen that feels too small, perhaps you can remove part of the wall and add a bar. You will definitely feel Less cramped and have more company in the kitchen to help make meals and create new memories.

You May Also Like
3 Ways to Add Storage and Prep Area In Your Kitchen
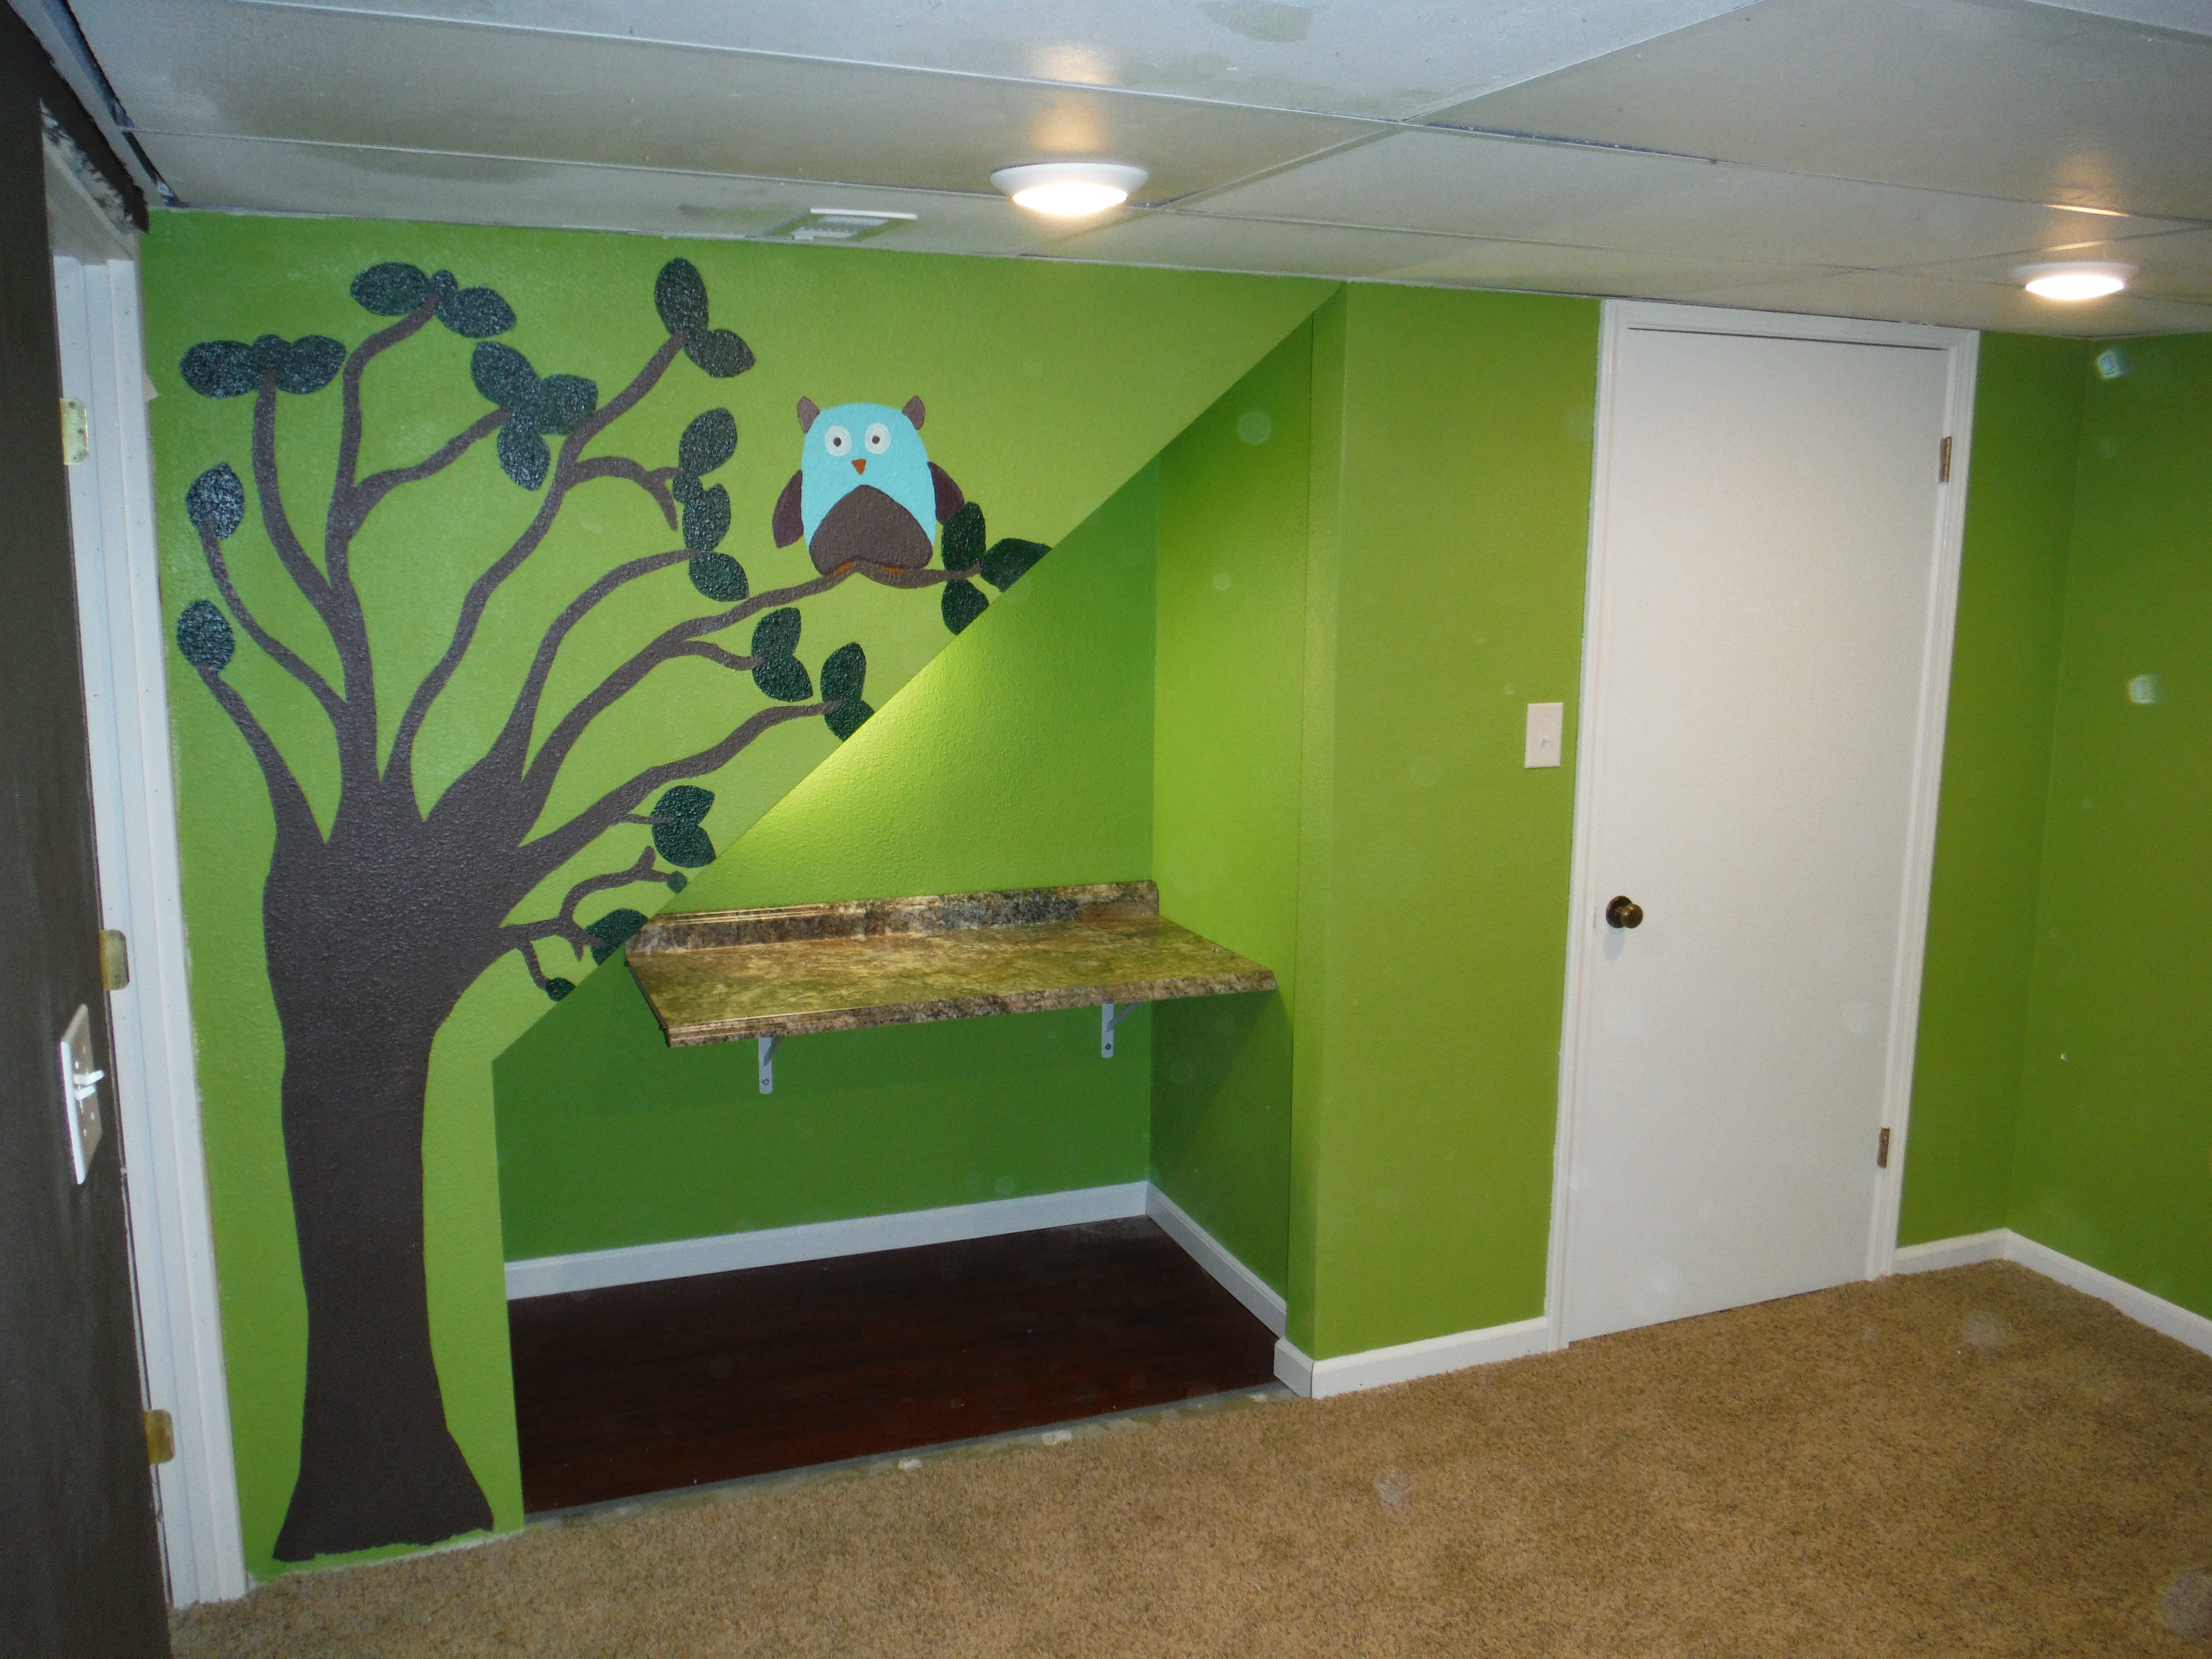
Create an Office Nook Under the Stairs
