Bathtub Makeover with Glass Back Splash
Do you wish you had a luxury bathtub that you could soak in and just unwind? Tired of looking at your old grungy bathtub, and never using it because it doesn’t look inviting? Adding a glass back splash really made this Bathtub Sparkle! Here is our Bathtub Makeover with Glass Back Splash.
When we bought this home, this bathroom was disgusting and it wasn’t used for bathing Humans. Whaaaattt? I know it sounds like you have entered into a Haunted House or a Science Laboratory. Anywhoo, don’t worry, it’s not what you are imagining. This bathtub was used to clean the previous owner’s Pitbull! Today, I will show you our Bathtub Makeover with Glass Back splash. It made a big difference! Now we love our tub and always use it for it’s intended purpose.
Okay, now that we got that out of the way, you will understand why this bathtub desperately needed a makeover. This is how it looked BEFORE the Makeover.

The back splash was made from linoleum flooring squares! How tacky and cheap is that!? We removed all of it and it Instantly started to look BETTER. Here is an WORK IN PROGRESS picture.

Bathtub Makeover with Glass Back Splash
Supplies:
- Tile
- Hardy Board (waterproof sheet rock)
- Glue
- Bucket for grout
Tools:
- Tile Cutter
- Grout
- Mixer
- Trowel
Tutorial:
Prep Work
Make sure you have hardy backer. We did not, since it was an outdated home. However, your home should already have this.
Pick out your tile. It is popular to add more than one style of tile. Frugal Tip: Use an inexpensive tile for the main area and an expensive tile for accents. You will have a beautiful, custom look and your dollar will stretch farther.
Cut Your Tile:
Once you decide on your tile choices, then decide on your tile size. My main pieces came in either a 12×12″or a 18×18″. We only had to cut the 12×12″ accent tiles into 2×12″. Use your tile cutter. You can use either a dry or wet tile cutter. We used…..
Prepare Your Grout:
Read instruction on the grout container for how much water to add
Add Tile to Your Wall:
Seal your tile around the edges.
Most home owners have a master bathroom with a separate tub and shower. Home owners love having a bathtub to relax and unwind. But if the bathtub is outdated or Grungy, then nobody is going to enjoy it’s benefits. Adding glass tile back splash will made your bathtub Shine and Sparkle. It’s really simple to do, and can be done in a few hours, with very little money. I hope this Tutorial gives you ideas on how to install glass tile back splash, so you can enjoy your bathtub and bathroom.

You May Also Like
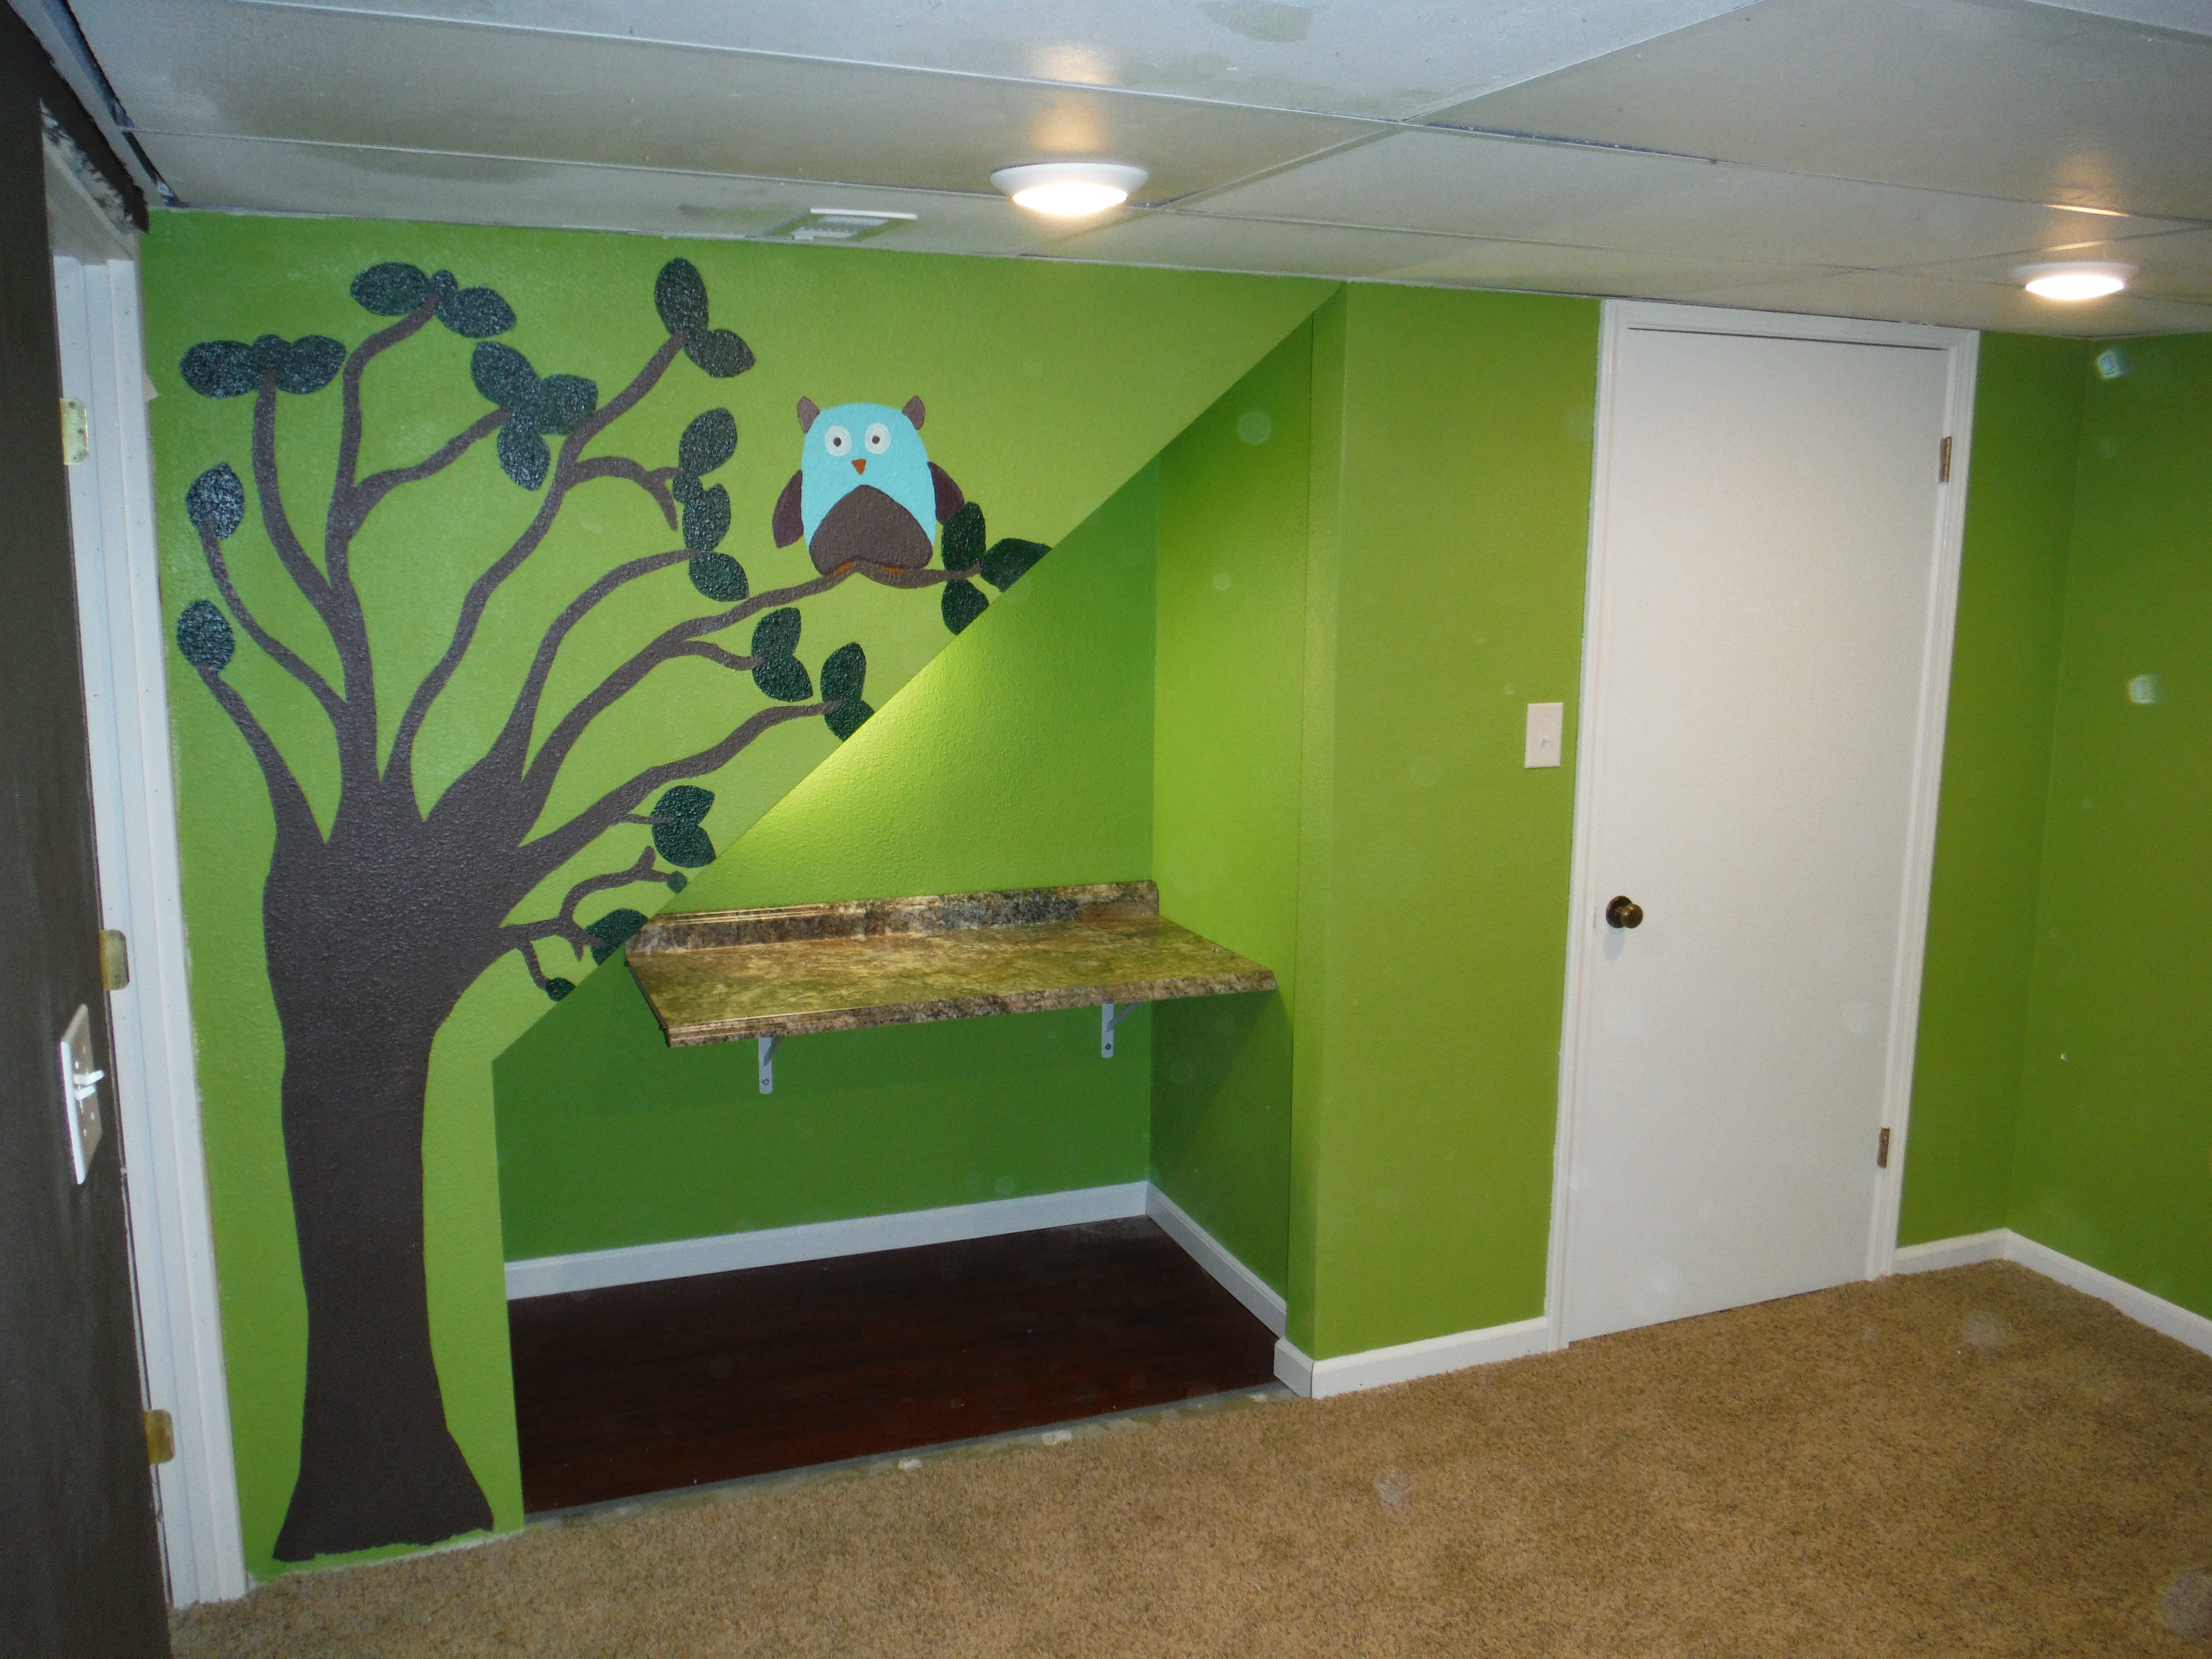
Create an Office Nook Under the Stairs
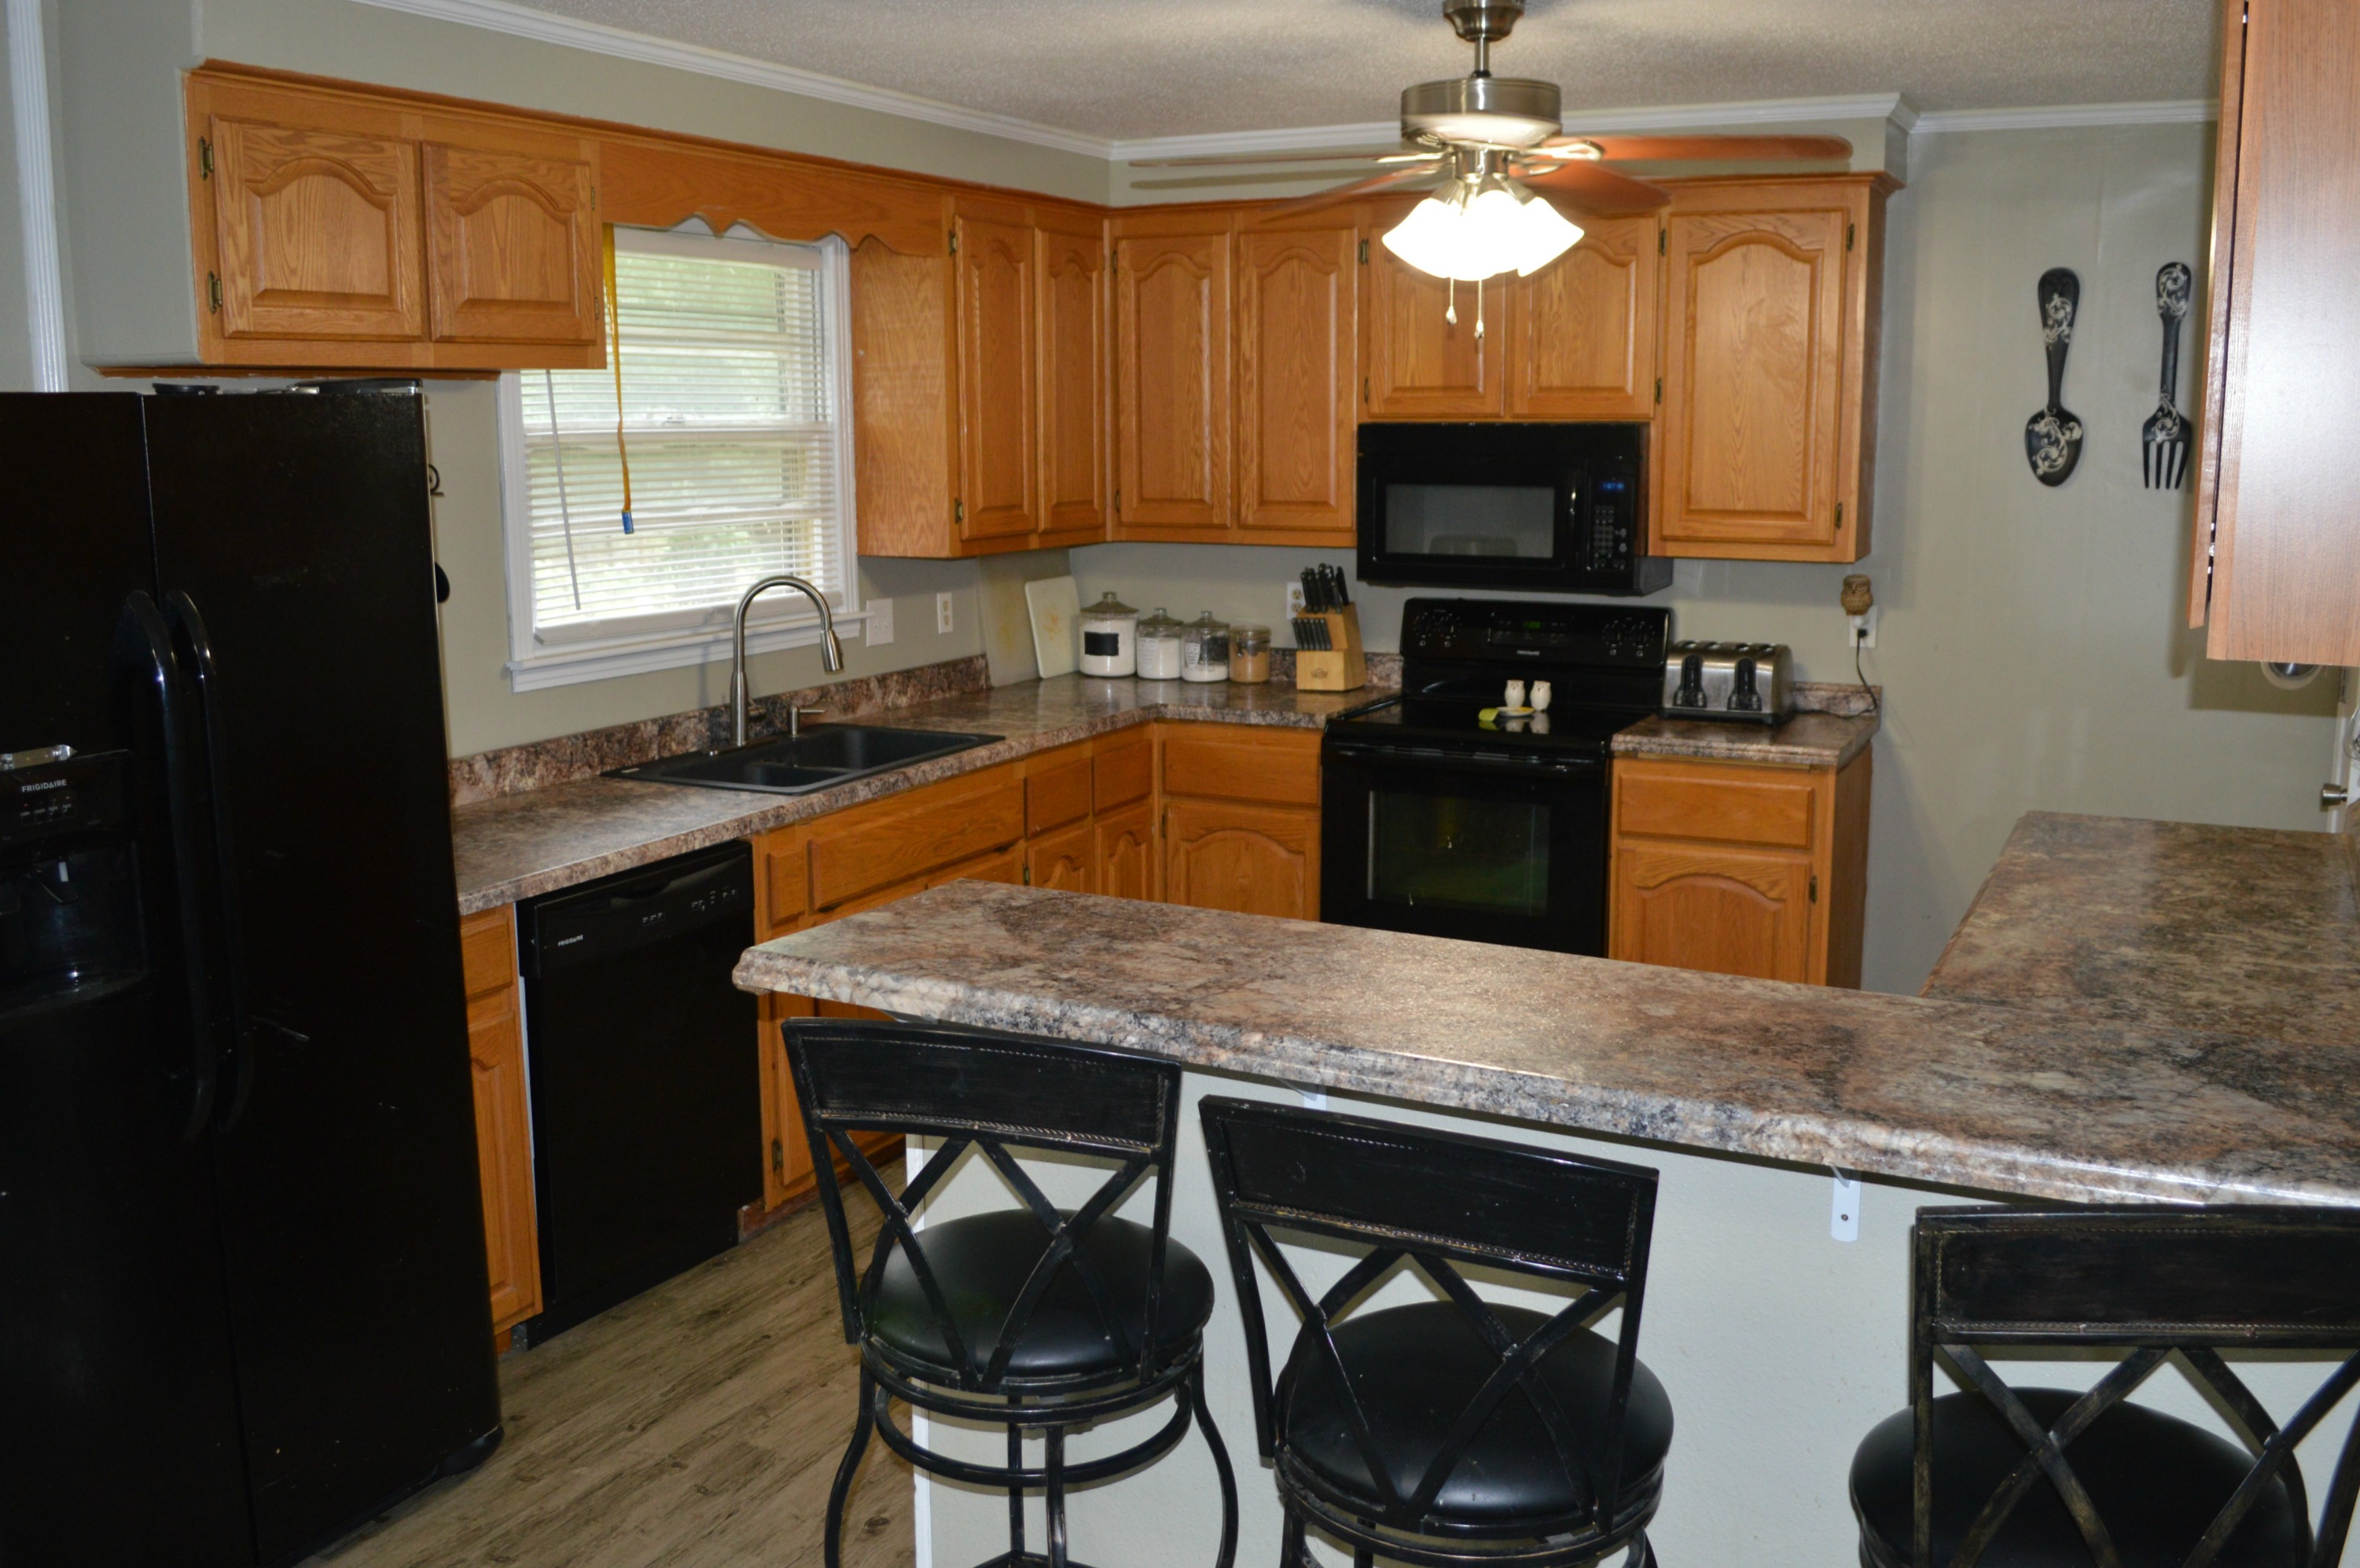
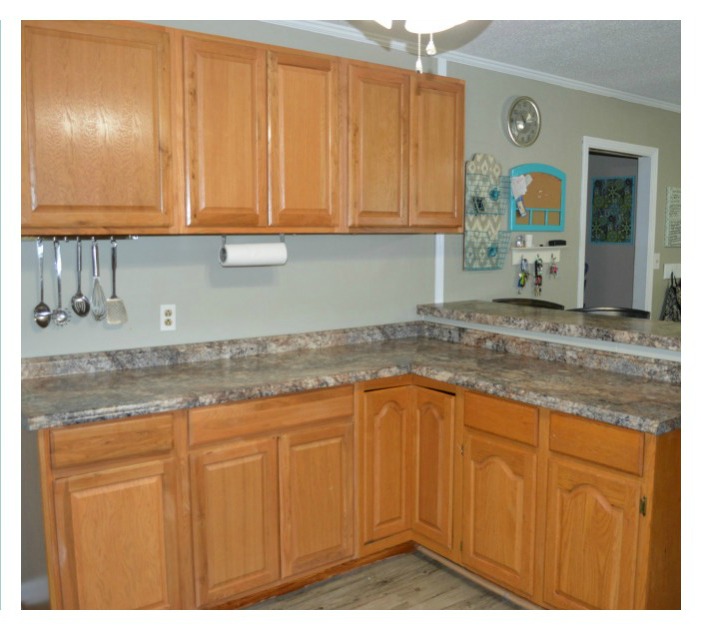
Secrets for Open Concept Kitchen with a Bar