6 Tips for a Home Office On a Budget
Do you Need a Home Office, but Don’t want to spend a lot of money? Here are my 6 Tips for a Home Office On a Budget.
- Choose Your Layout and Space
- Layout Your Decor
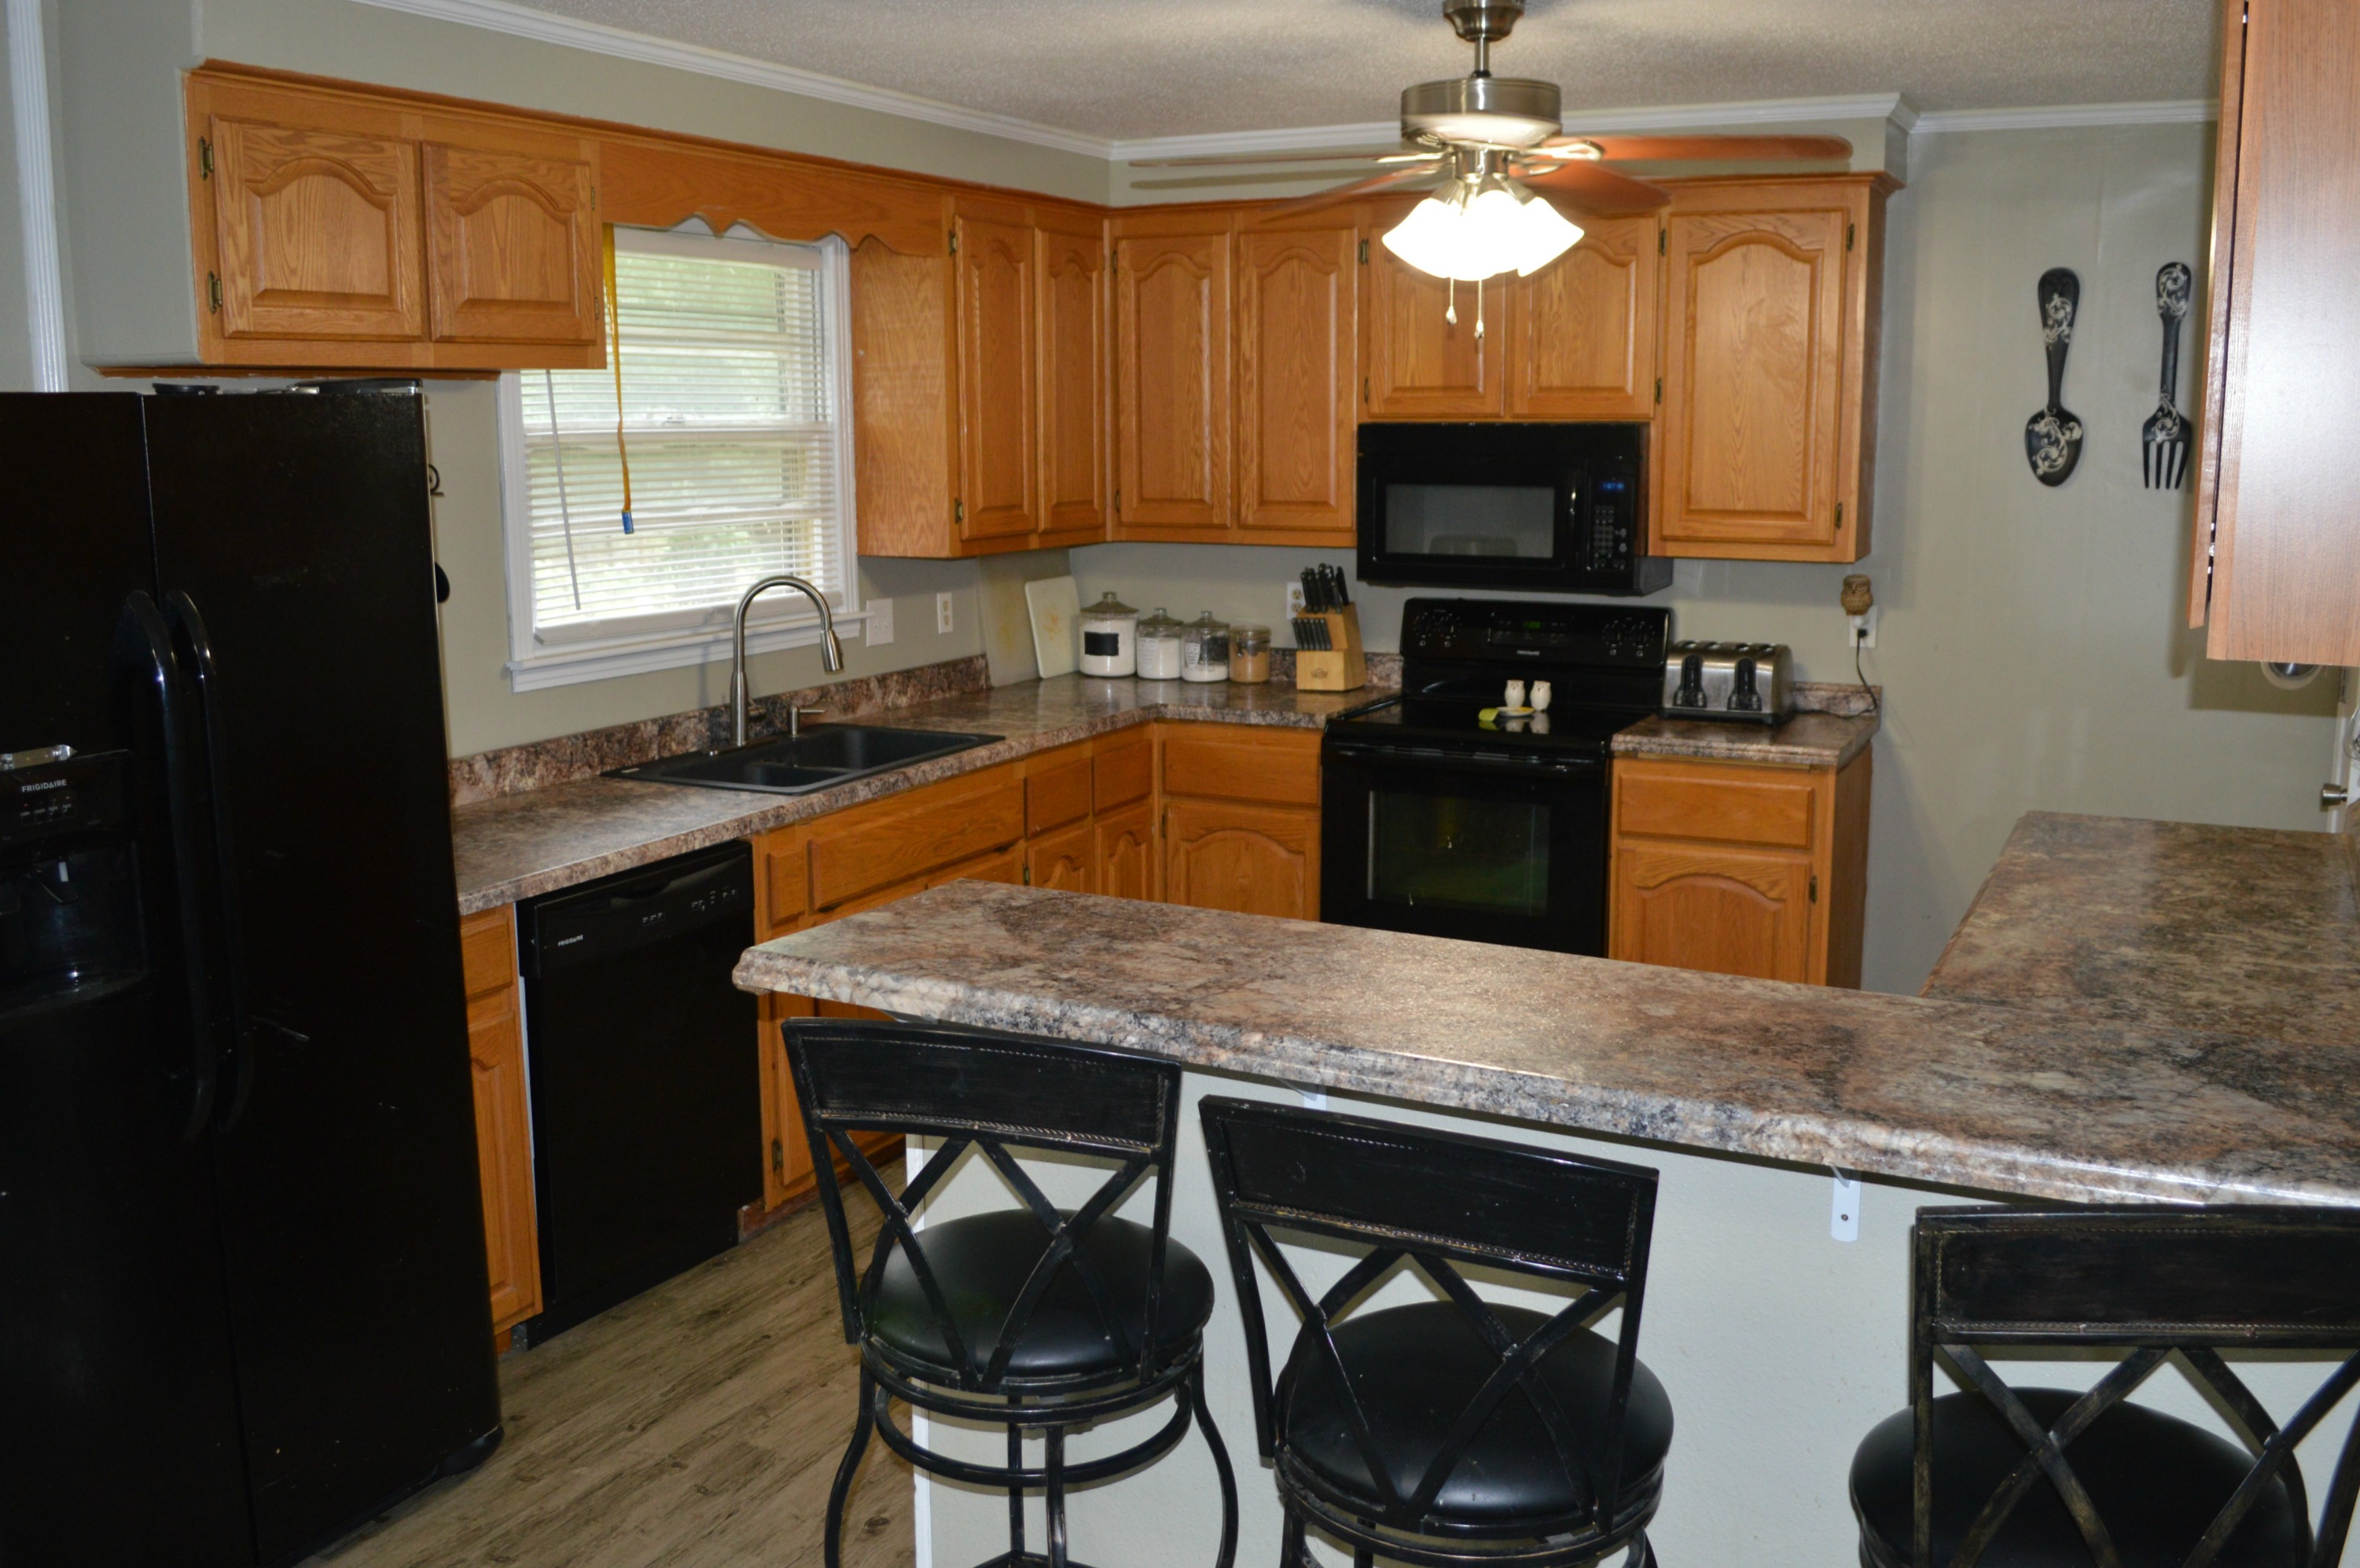
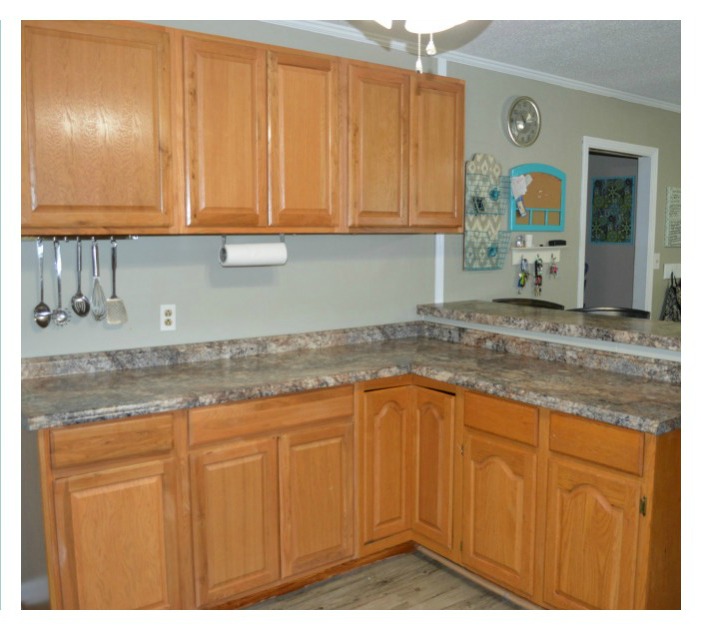
- Re-Use and Re-Purpose Kitchen Cabinets. Our neighbor, remodeled their kitchen and removed their old cabinets. They gave them to me for FREE. I painted them with my Paint Sprayer. FREE
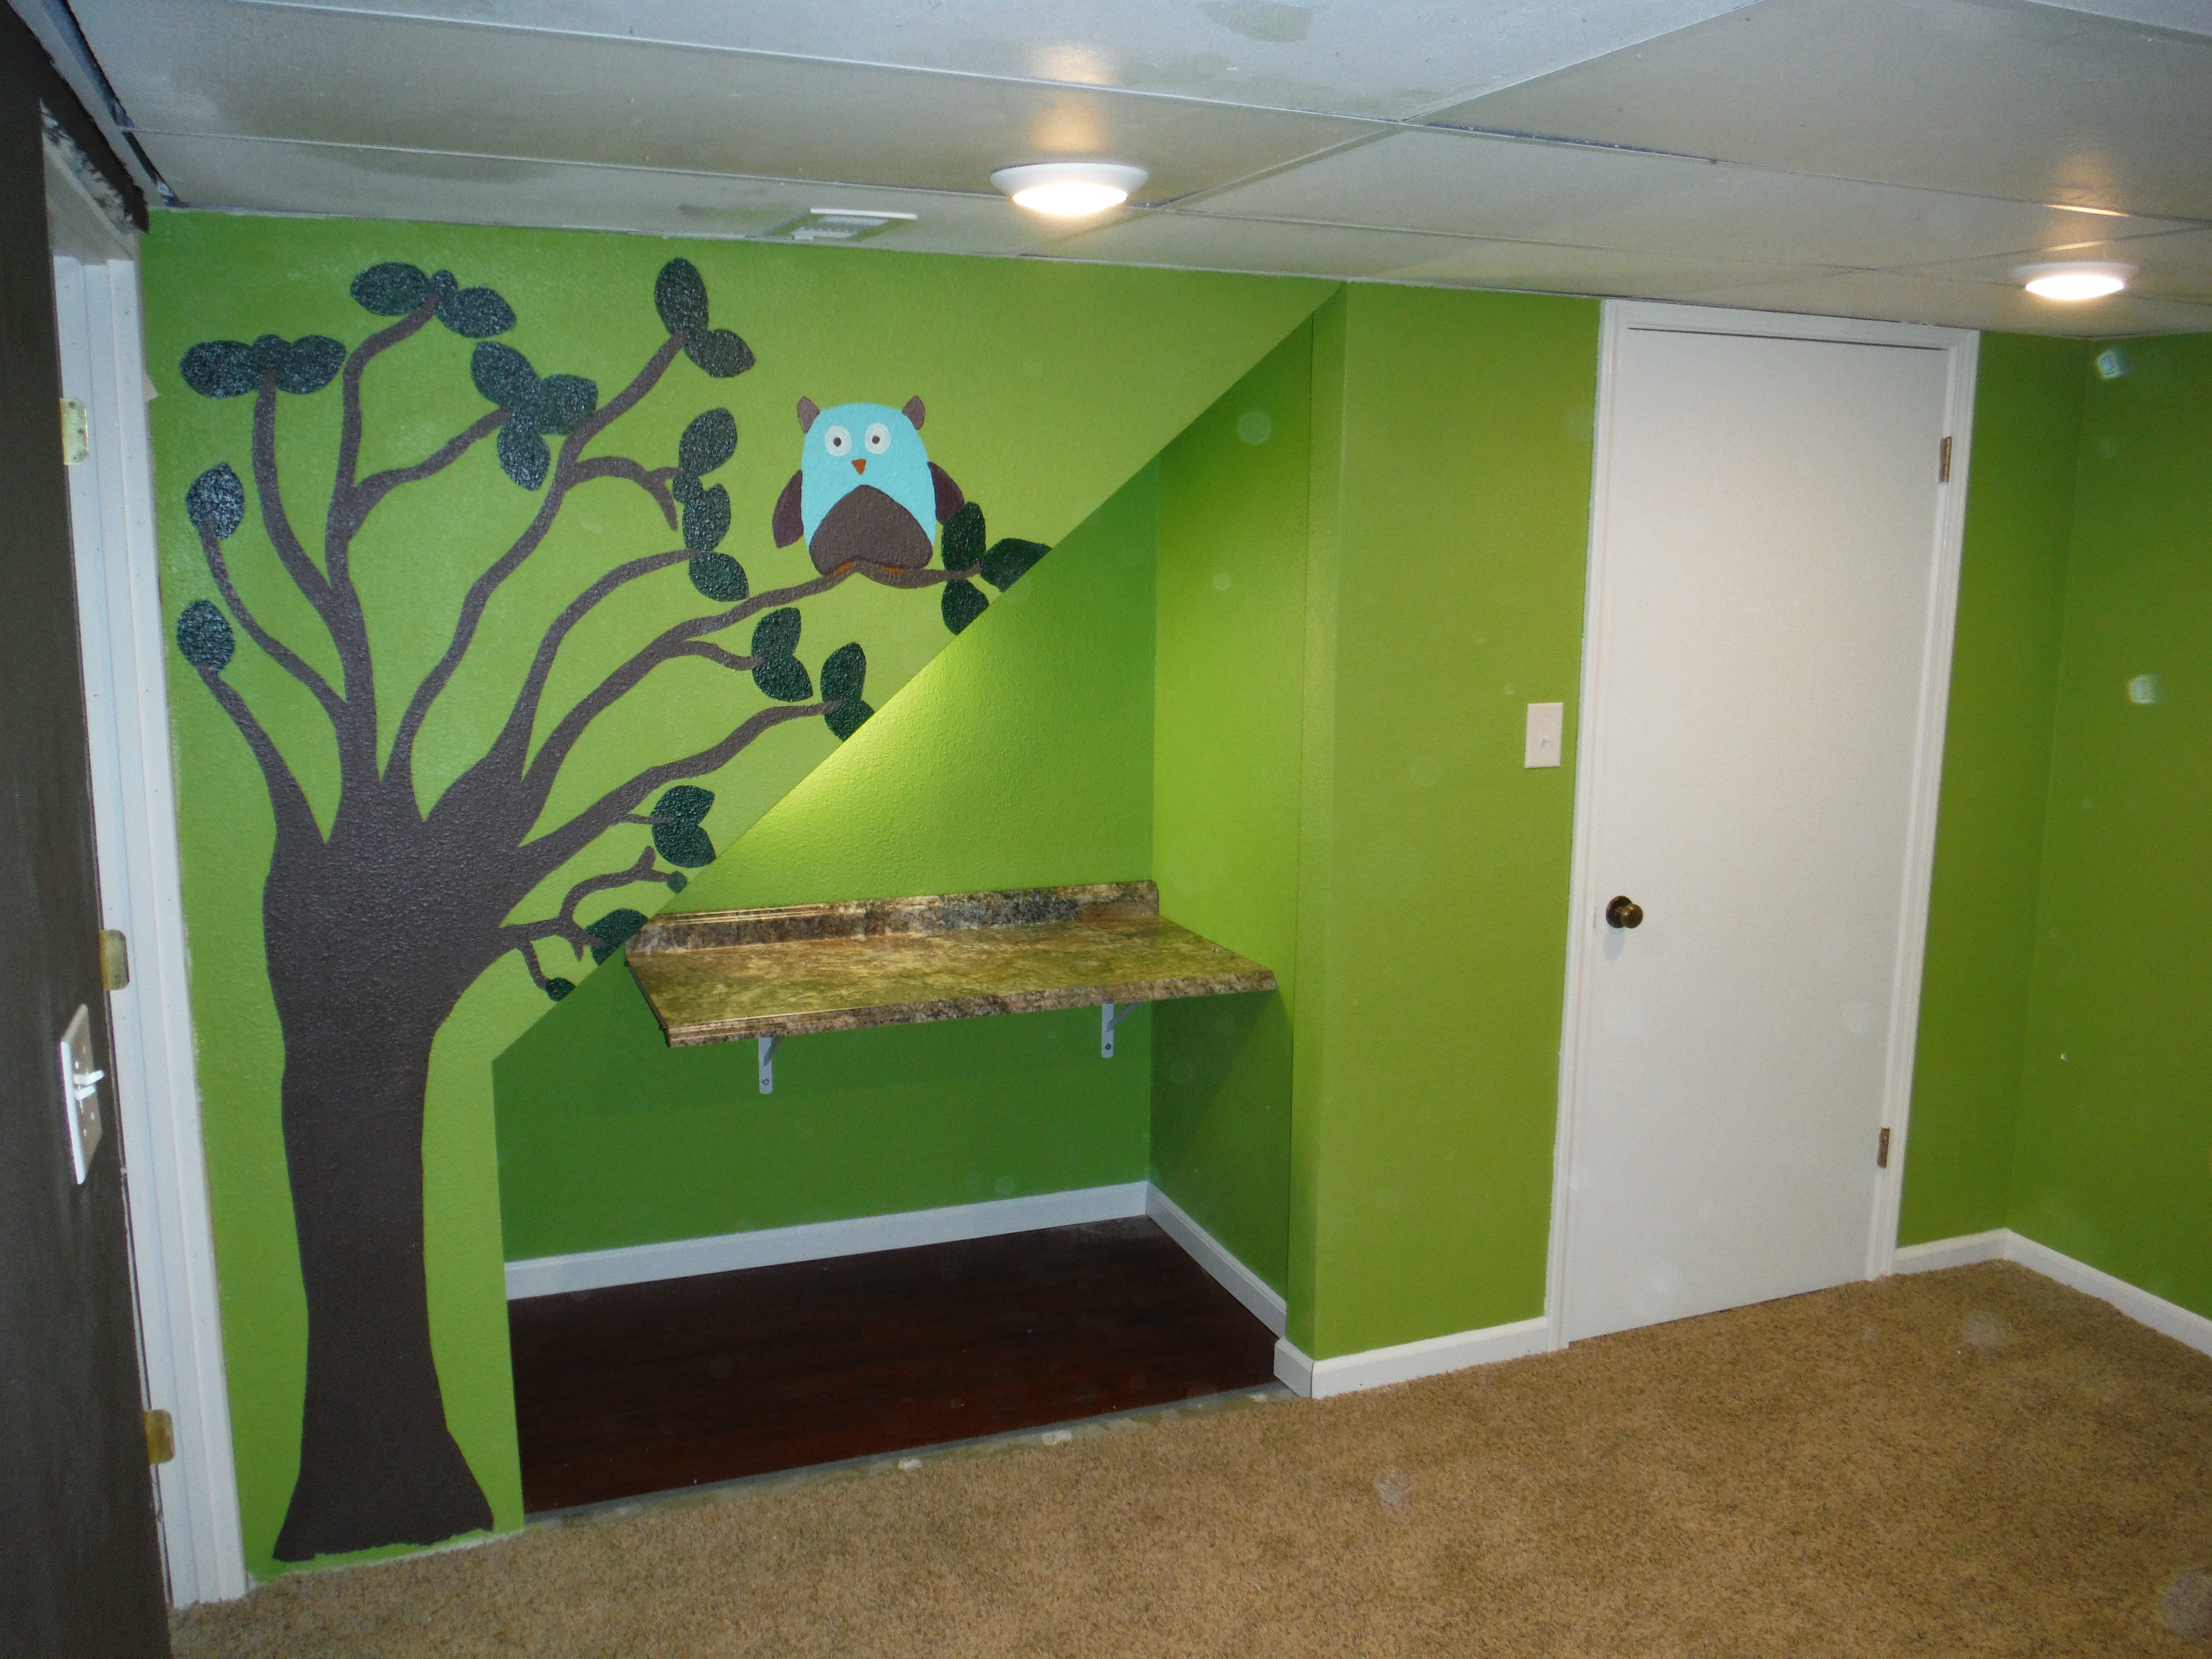
- Buy Doors from a Re-Store. They are Great for an Office Counter. Install them to the wall with L-Brackets. I bought 3 Doors and placed them in a U shape Pattern along all 3 walls.
- Make DIY White Boards, Magnet Boards, or Peg Boards for Storage and Organization: $50 for supplies
- Install Floating Shelves from IKEA or Home Depot. $40 Total. (Bought 2 @ $10 ea).
Choose Your Layout and Space
This area used to be our Garage, Then Master Bedroom, Now Home Office. See our post on how to Transform Your Garage Into a Master Suite. The first Step in Completing a Home Office, is to Choose Your Layout and Space. This room is rectangular and deep (since it was a garage). I decided to use this part of the room for my office area. The other side of the room has french doors, where the garage door used to be. Office areas need a lot of wall space, which is why I chose this side.

Layout Your Decor
Once you have chosen your layout and space, you need to decide where you furniture and decor will go. I knew my counters would go in a U shape along the 3 walls, and my 3 Re-purposed Kitchen cabinets, would go in a horizontal order on the center wall. Last I had to decide where my memo, magnet, and dry erase boards would go.

Use A Paint Sprayer on Kitchen Cabinets

At First I tried to use a paint brush, but that did NOT work! It caused Lots of Streaks!

The Paint Brush made drips Everywhere!

Therefore, I used my Awesome HomeRight Finish Max Paint Sprayer to the Rescue!

And my DeWalt hand sander, to smooth out the rough edges, I did NOT sand down the Stain.

Finished Product, Using my HomeRight Paint Sprayer

Install Doors for Your Counters
SUPPLIES:
- Doors (Bought 3 @ $5 ea.)
- Washers
- L Brackets (Bought 6 @ $10 ea.)
- Wood Screws
- Wood Trim to cover the hinges on the exposed part of the door.
- 2×4 piece of wood to make doors aka counters level.
TOOLS:
- Electric Screwdriver
- Measuring Tape
- Stud Finder
- Large Level


Install the Doors, with the Doorknob against the Wall, so you have a whole for your cords. Then buy a piece of wood trim to cover the door hinges on the exposed part of the door.

We used a piece of 2×4 to keep the doors level. We screwed the 2×4 under each door, where they met.


Add Accessories
We bought circular and owl shaped knobs from Hobby Lobby, and then I spray painted them Turquoise and installed them on my white cabinets.
I bought the Owl Dry Erase boards from Hobby Lobby.
I made a clothespin/ribbon hanger out of wood, spray paint, and owl vinyl adhesive.
Spray painted some jars and containers that I bought at Goodwill and Dollar Tree.

Add Office Equipment
I made magnet boards, bought the hanging file baskets from Hobby Lobby, floating shelves from IKEA, and filled in some more random accessories that I already had.

You can create your a Home Office On a Budget, with these 6 Tips. A Home Office doesn’t need to cost a lot of money. You need to start with the basics of layout, design, furniture, and decor. Then use some tools and supplies to build it. This project took us 6 hours to paint, install, and decorate. This is a great beginners project that can be done in a day!

You May Also Like
Secrets for Open Concept Kitchen with a Bar
3 Ways to Add Storage and Prep Area In Your Kitchen